WORKPACKS Screen
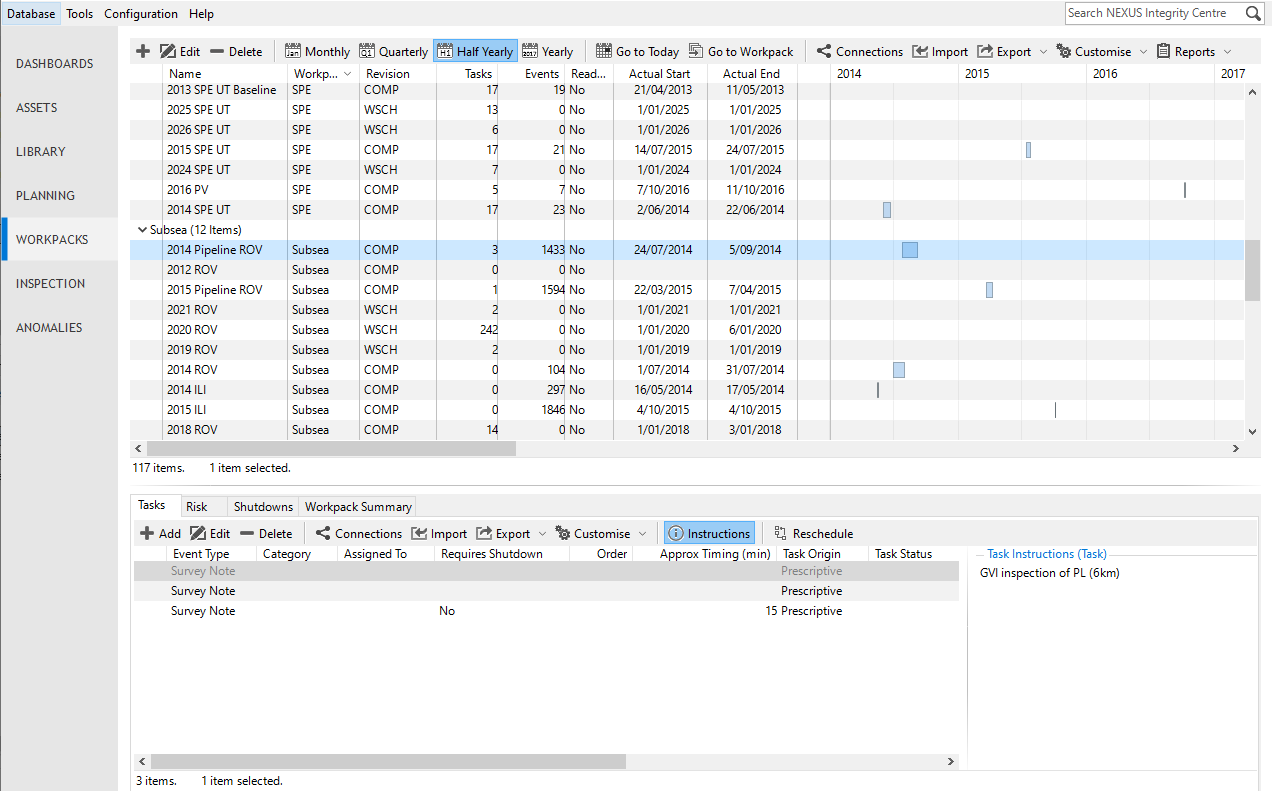
The WORKPACKS screen allows you to manage your workpacks (see Workpacks) and review the schedule of tasks across workpacks. The screen consists of the following main parts:
Screen Area |
Description |
|---|---|
|
Provides actions for viewing and managing workpack data. See Workpack Toolbar. |
|
Displays workpacks in a grid with key details and an integrated Gantt chart. The Gantt chart shows the start and end dates for each workpack in a calendar view, allowing you to quickly review the schedule of tasks across workpacks. |
|
Displays records related to the workpack currently selected in the grid. Using the tabs, you can perform the following actions:
|


Filter Workpacks
You can filter workpacks using the Filter option in the toolbar. The following options are available:
Show Read Only: When enabled, displays workpacks that are marked as read-only or have a read-only revision. This option is disabled by default.
Show Empty: When enabled, displays workpacks that have no tasks associated with them. This option is enabled by default.
Tip
Use the grid Grouping functionality to group and filter workpacks. This provides a quick and effective way to focus on the workpacks you want to review. All columns in the grid can also be filtered and sorted using the standard filtering (see Filtering) and sorting (see Sorting) functionality.
Workpack Toolbar
Toolbar Option |
Description |
|---|---|
Creates a new workpack. See Create Workpacks Manually. |
|
Edits the selected workpack. See Edit Workpacks. |
|
Deletes the selected workpack. |
|
Opens the workpack filter options. See Filter Workpacks. |
|
Sets the time resolution of the Gantt chart and adjusts the calendar scale. For example, if you select Monthly, there will be one column for each calendar month. |
|
Scrolls the calendar to the current date. This button is inactive if the calendar does not cover today’s date (because all your workpacks are in the past, or all your workpacks are in the future, or no workpacks have start/end dates). |
|
Scrolls the calendar to the start date of the selected workpack. If multiple workpacks are selected, the calendar scrolls to the most recently selected one. |
|
Displays items that are linked to the selected workpack. See Connections. |
|
Imports workpack data into the database. See Import. |
|
Exports workpack data from the active grid. See Export. |
|
Customises the grid layout and columns. See Customise. |
|
Generates reports based on workpack data. See Reports. |