SaaS Login
When you use Software as a Service (SaaS) with Single Sign-On (SSO), you can access NEXUS applications as described below.
Log In to NEXUS IC and IC-Web
Open your web browser and navigate to https://license.nexusic.com/.
On the sign-in page, enter your company username (for example,
username@company.com), password and click Sign in.If you have previously signed in and selected the option to stay signed in, this step is skipped.
On the next page, click the application that you want to launch.
The application opens in your web browser.
Note
When you log in for the first time, default security permissions are assigned to your user account. To change your security permissions and assign licenses, contact your administrator. For more information, see User Management.
Tip
Launch NEXUS IC as an app to open it in its own window. For detailed steps, see Launch NEXUS IC as an App.
If you are using NEXUS applications in a browser, you may need to adjust your browser settings to prevent disconnection in background tabs. For more information, see Keep NEXUS Active in Browser.
Log In to IC-Inspector
You can log in to IC-Inspector using one of the following methods:
Single Sign-On (SSO): Use your company credentials for seamless authentication.
Database-specific credentials: Use a dedicated account to access IC-Inspector.
Both login methods are described below.
Log In Using SSO
Launch the IC-Inspector app on your tablet.
Go to Settings.
Ensure that the Use Demo Data option is turned off.
Under SERVER, confirm that Corporate Credentials (SSO) is selected in the Sign in Using field. This is selected by default.
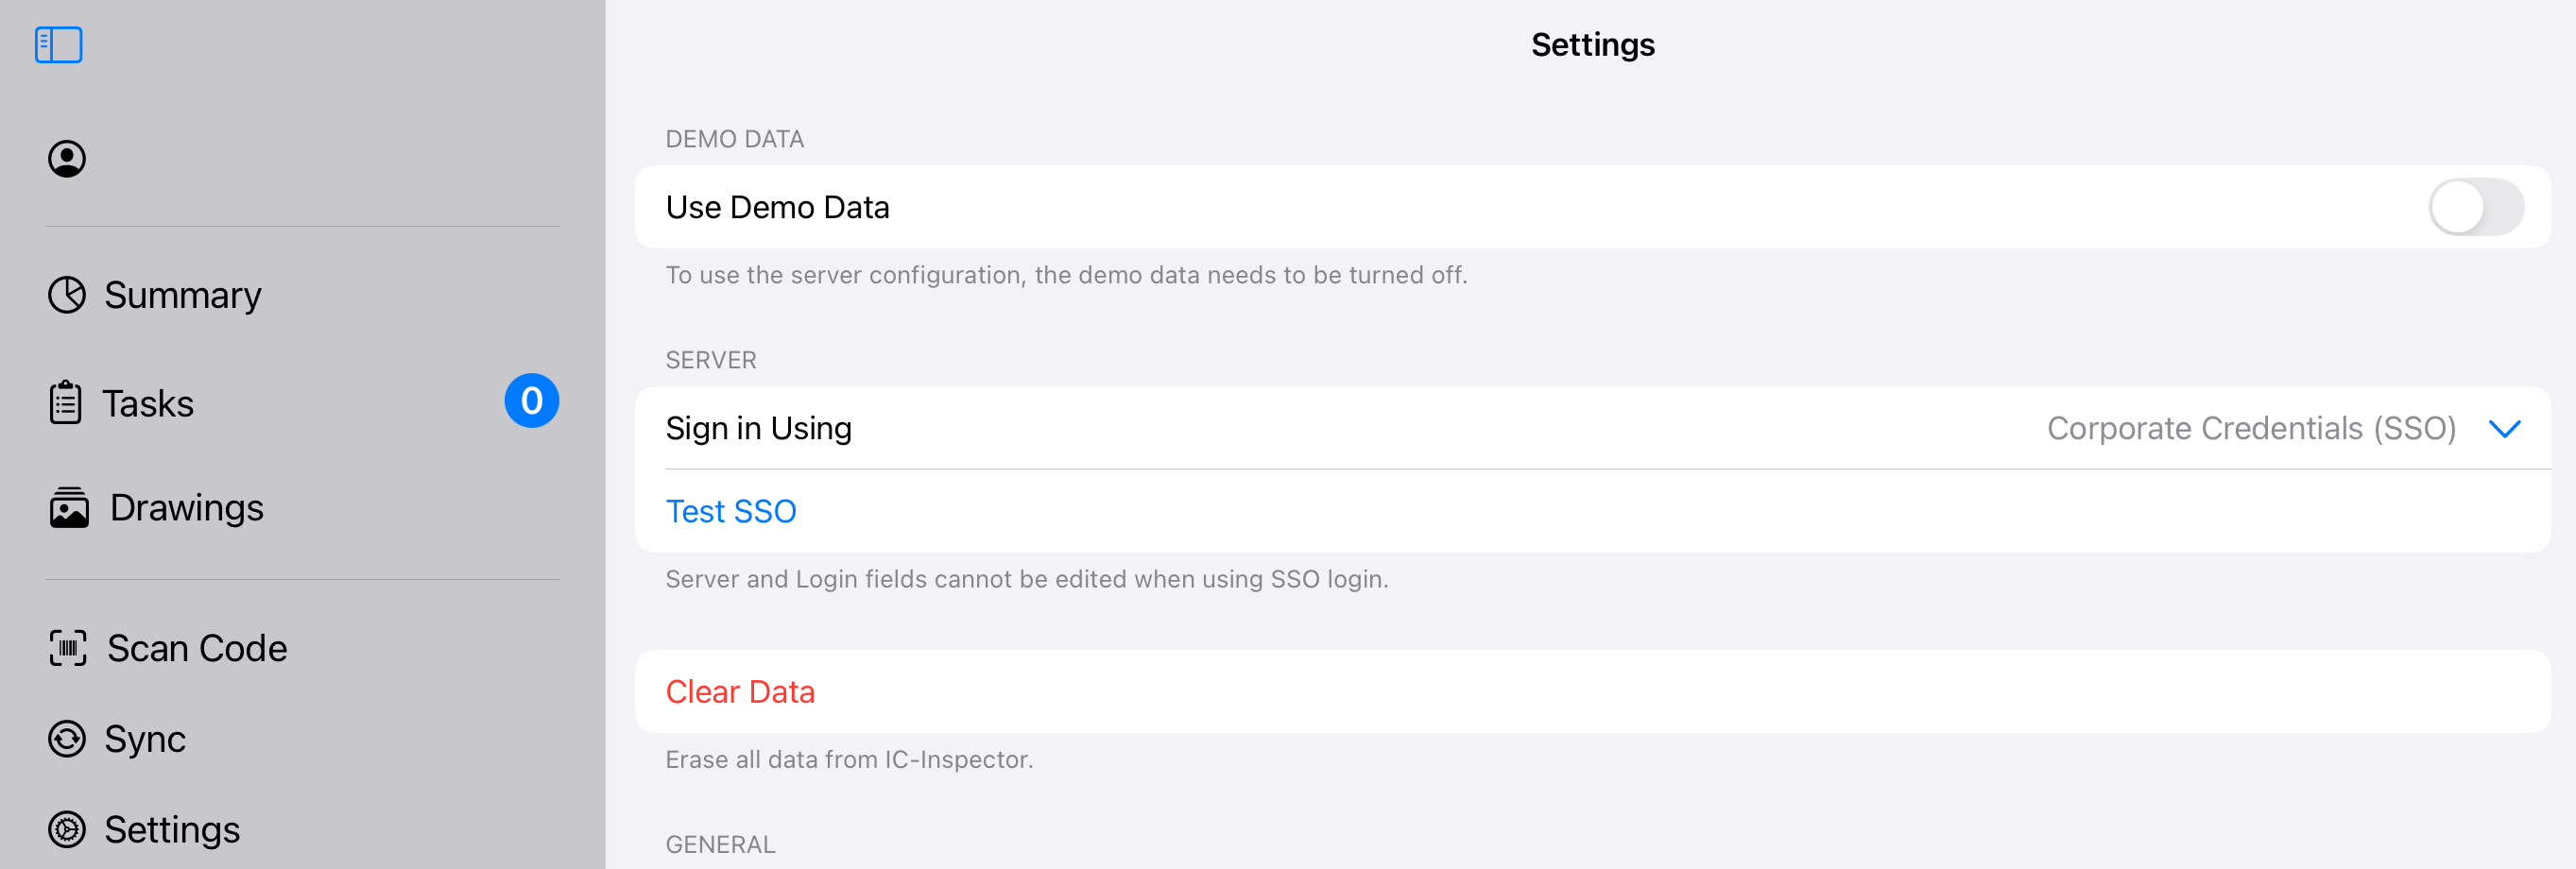
Each time you perform a sync (see Sync to IC-Inspector and Sync to NEXUS IC), IC-Inspector initiates the sign-in process unless you have already signed in and your SSO session and hash are still active. You can also tap Test SSO on the Settings page to verify SSO connectivity.
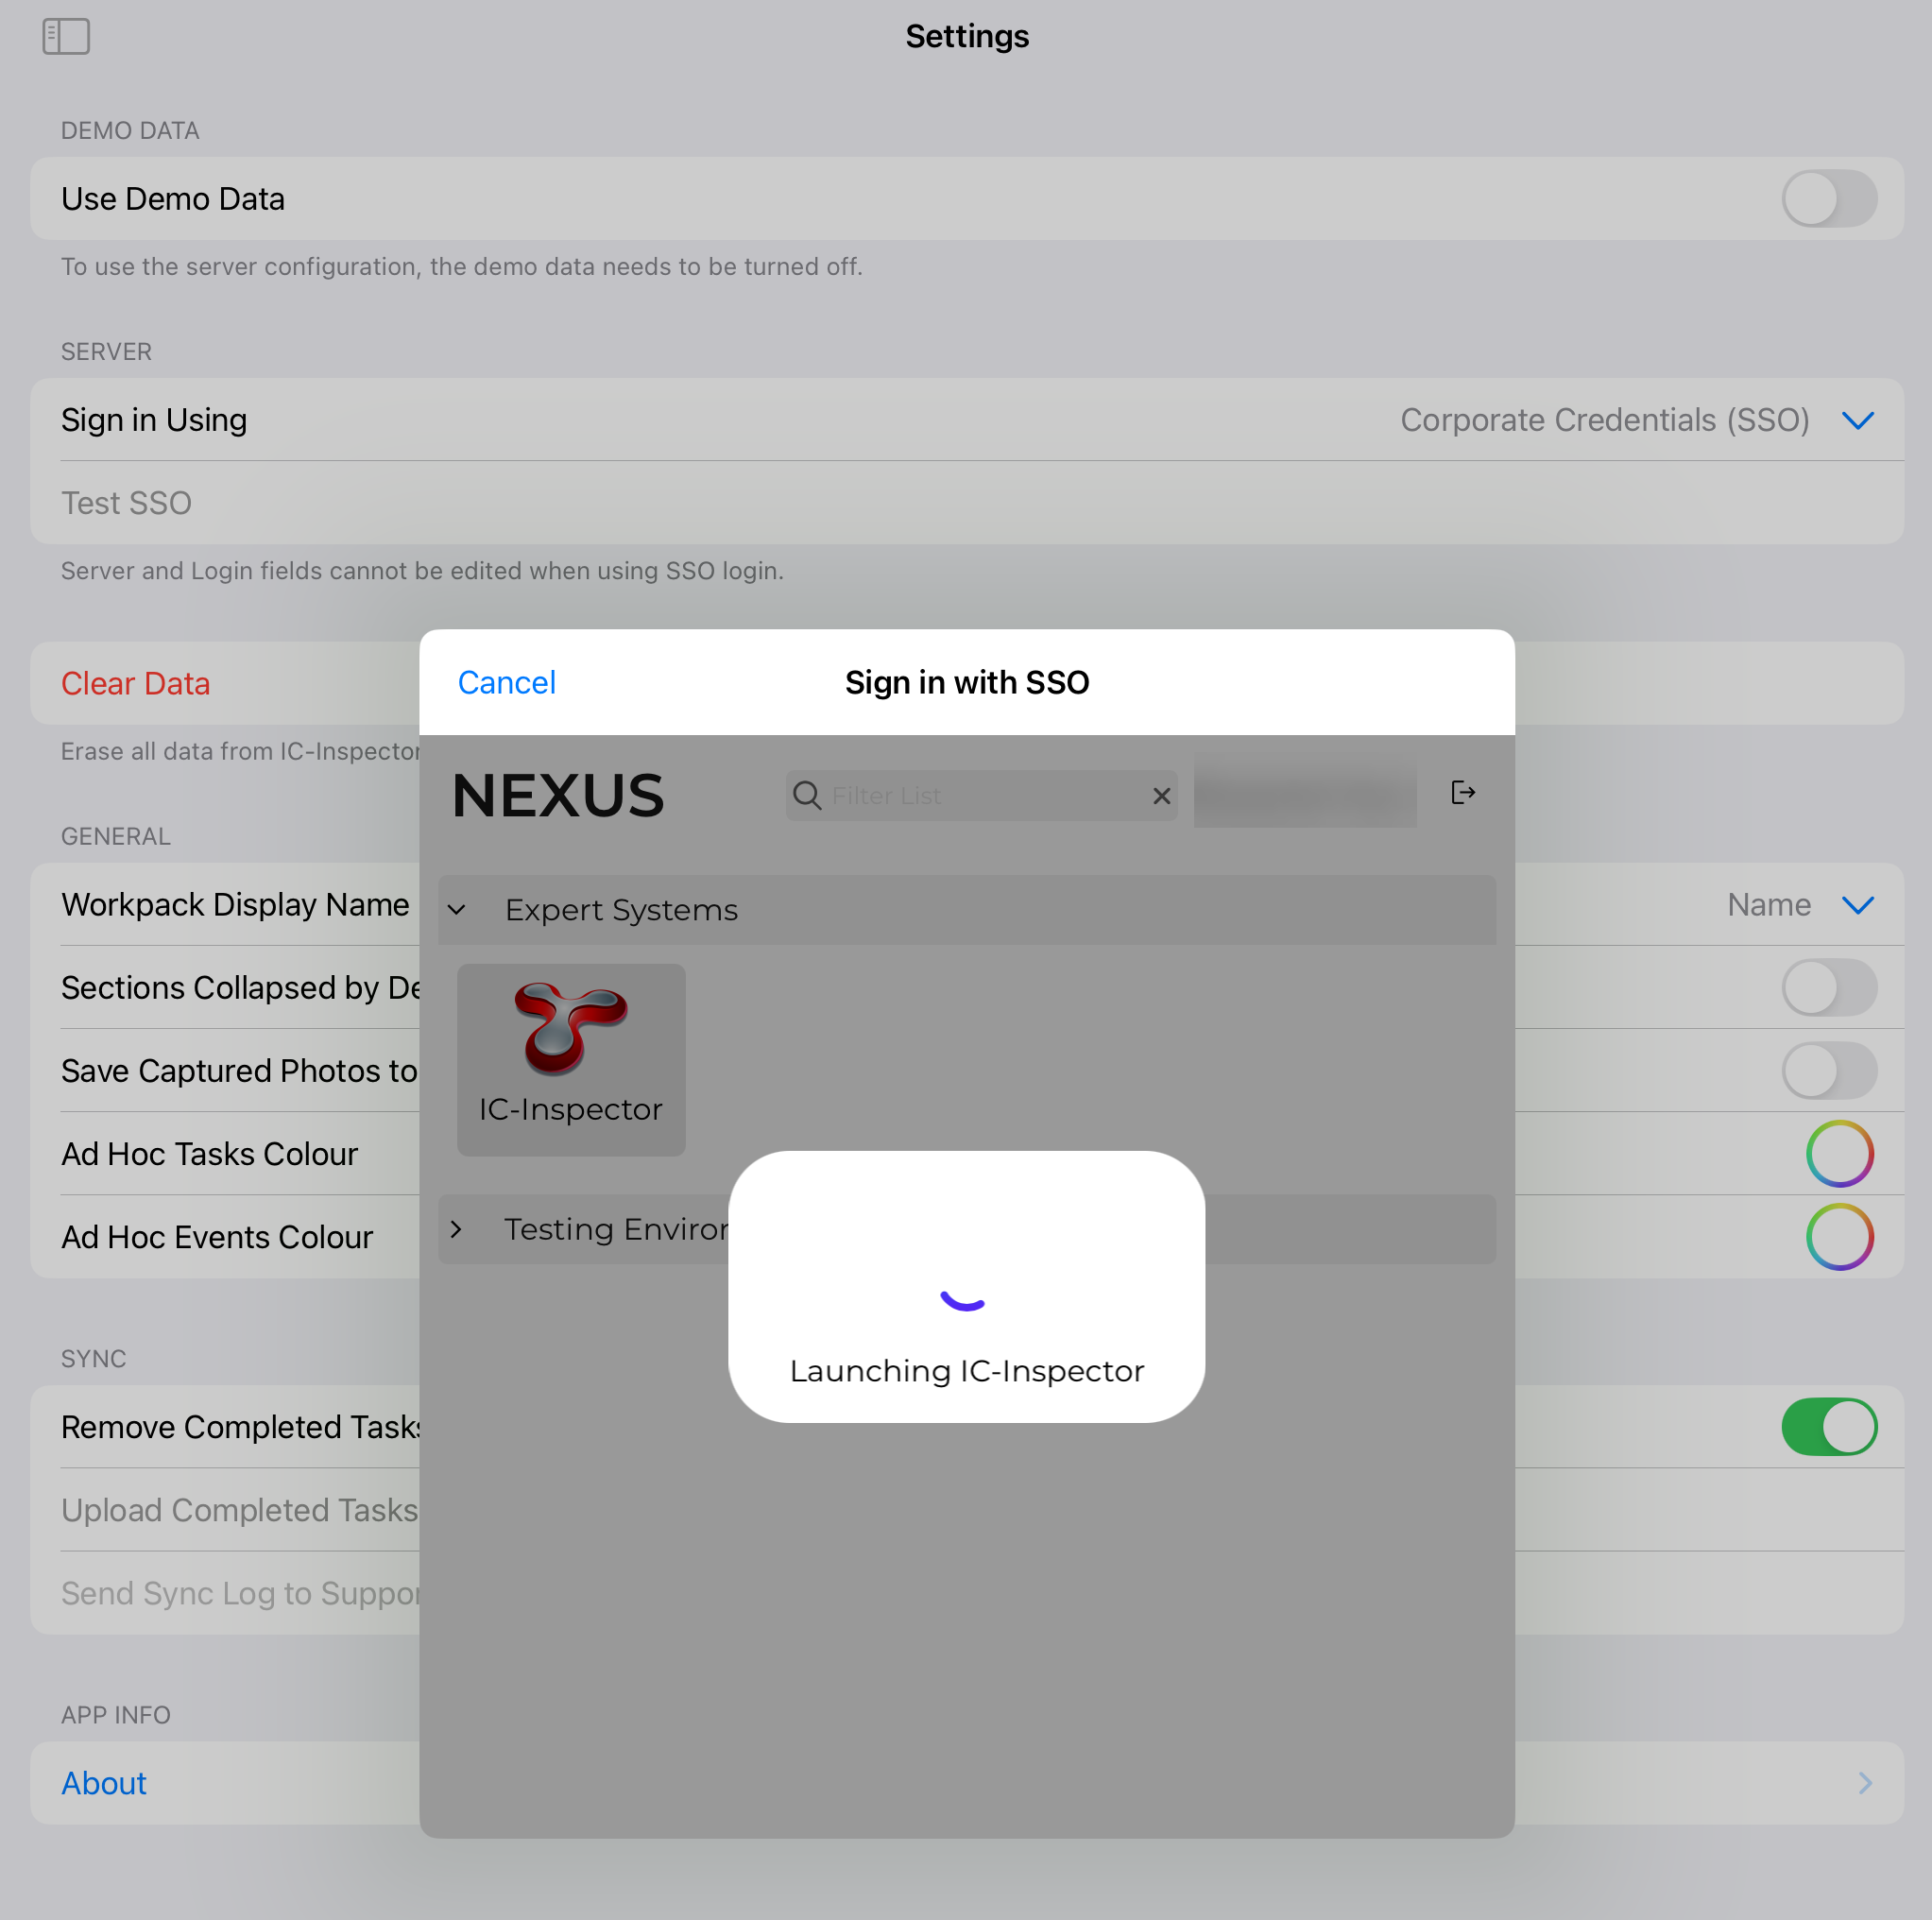
When prompted, enter your company username and password, and complete any multi-factor authentication steps required by your organisation’s standard login process.
If you have access to more than one database, you will be prompted to select the appropriate IC-Inspector database by tapping its icon on the sign-in page.
Result
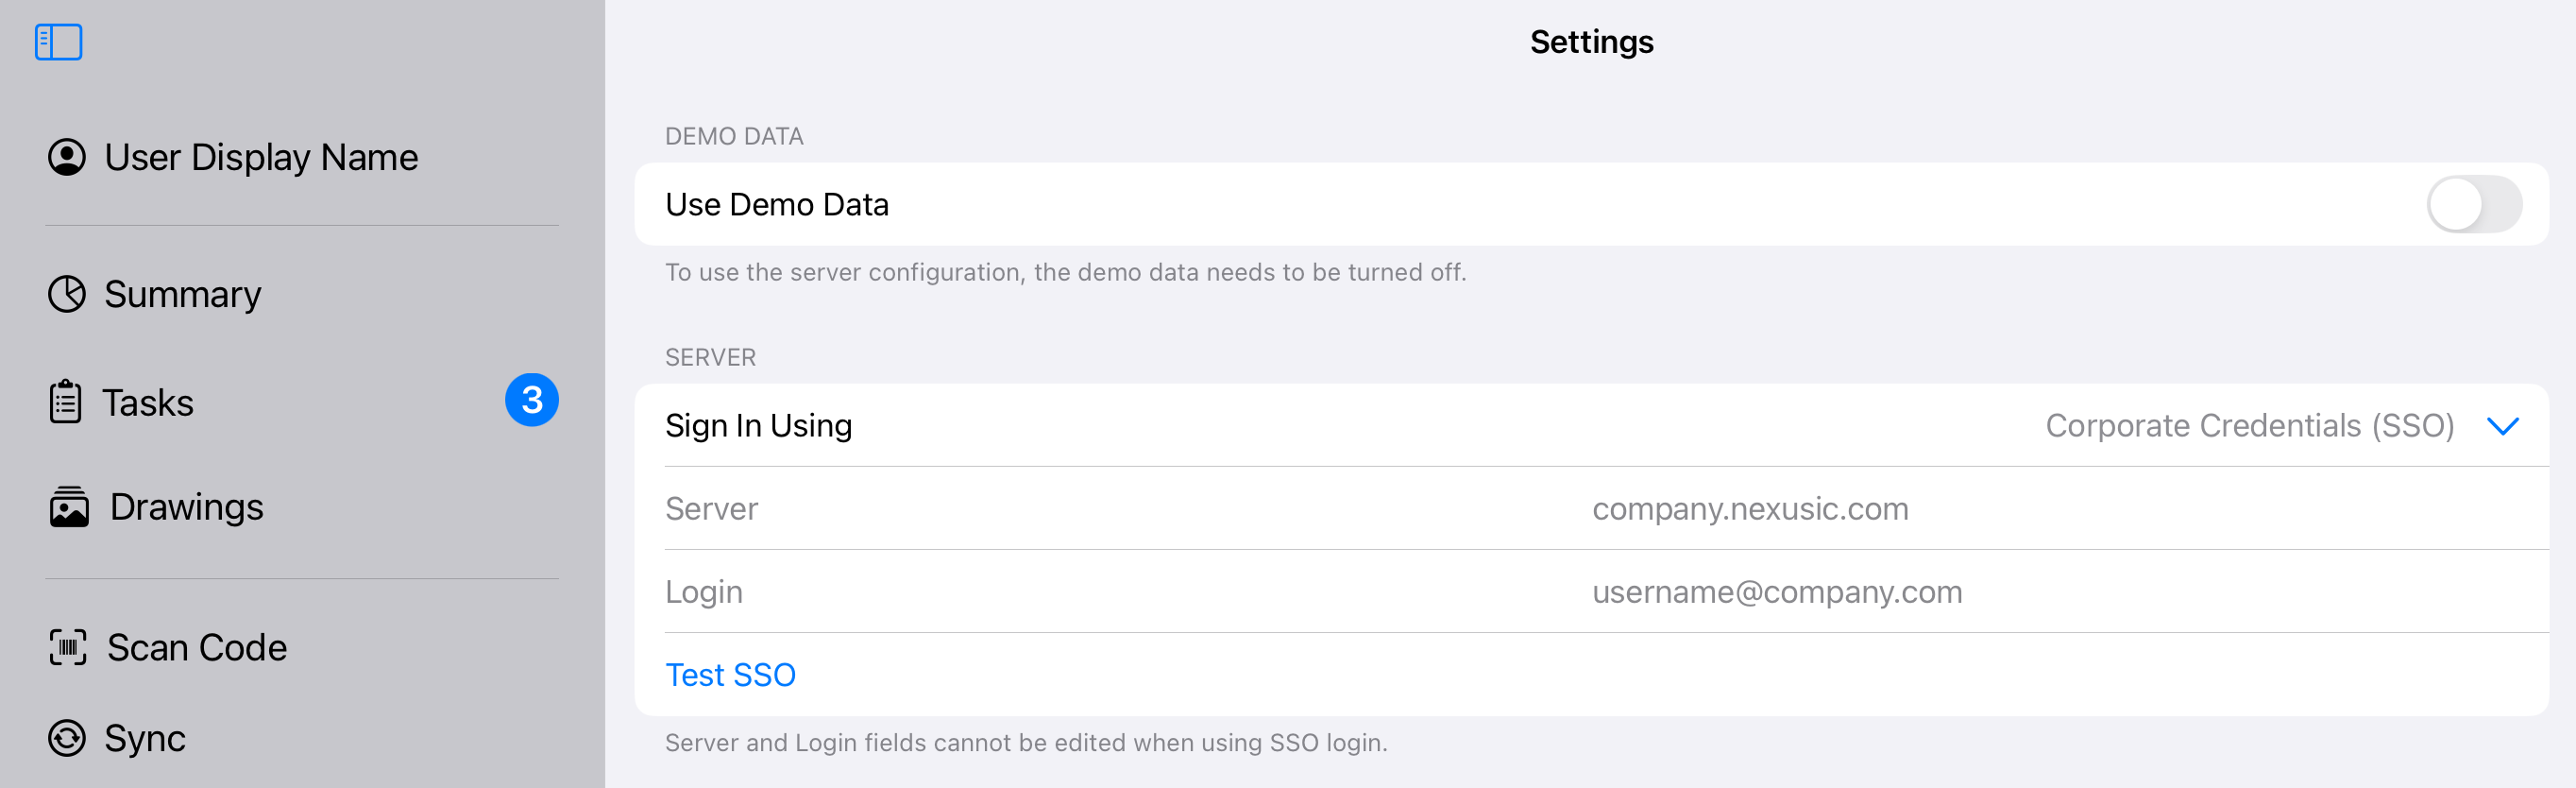
A success message confirms that SSO authentication was successful. Your username appears in the sidebar, and the Server and Login fields on the Settings page are automatically populated and locked.
Note
The SSO session and hash expire after a set period. After that, you’ll be prompted to sign in again when performing a new sync.
If you switch users or change the login method, the previous SSO session will be terminated. Any unsynchronised data from the previous session will be lost.
Log In Using Database-Specific Credentials
Open the IC-Inspector app on your tablet.
Go to Settings.
Ensure that the Use Demo Data option is turned off.
Under SERVER, select Database Login in the Sign in Using field.
Enter data as follows:
Server: Enter the server name.
For SaaS clients, this is the URL of the IC-Web instance, for example, clientname.nexusic.com.
For on-prem clients, contact your IT team for the correct server name.
Login: Enter your username stored in the database.
Password: Enter your password.

Tap Connect & Save.