Create Ad Hoc Event
You are not restricted to eventing only from tasks. At any time, whilst IC-Inspection is in inspection mode, you can log events against the currently selected asset, which is called ad hoc eventing.
You can create ad hoc events from the Event Launcher pane of IC-Inspection (see Event Launcher), which shows tiles for each event type assigned to the asset type of the currently selected asset, as well as preconfigured event templates. Based on the type of the tile in the Event Launcher*, you can create ad hoc events in one of the following ways:
By manually entering all field values in the event form (see Create Ad Hoc Event with Manual Data Entry)
By using event templates (if configured) that pre-populate some or all of the fields in the event form (see Create Ad Hoc Event Using Event Templates)
Prerequisites
You have selected the asset in the asset tree and ensured that data in the Active Inspection pane is filled correctly.
You have started the inspection using the Start button in the main toolbar.
If you’re using event templates, these event templates must have been set up (see Set Up Event Templates).
Create Ad Hoc Event with Manual Data Entry
In the Event Launcher, click the tile for the required event type.
This action opens the event form in the Active Events pane.
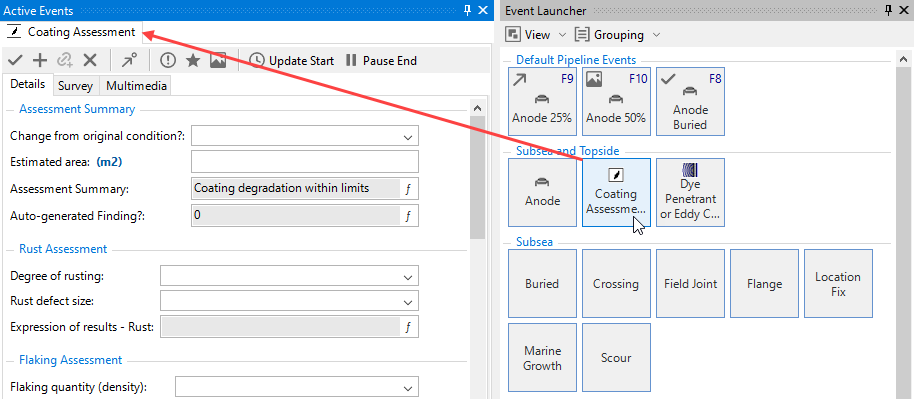
Enter event data on the Details tab. You can also capture images or raise a finding as required. For more information about what you can do on this pane, see Active Events.
If the event can be matched to one or more existing tasks, you will see a Task Completion section at the top of the event form indicating that this event can complete a task and a Task section with the specific tasks listed. You can choose which tasks to complete using the checkboxes.
To create the event record, save the active event in either of the following ways:
Click Save in the toolbar to save the new event entry, which will be visible in the Event Listing pane. The event gets closed in the Active Events pane.
Click Save & New to save the new event entry and immediately create a new one with the same event type. The created event will be visible in the Event Listing pane and disappears from the Active Events pane and a new empty event record is added to the Active Events dialog.
Create Ad Hoc Event Using Event Templates
In the Active Inspection pane, ensure that you select the Event Template Group that contains the required event template.
In the Event Launcher, make sure that the Show Event Templates option is enabled under the View toolbar button.
In the Event Launcher, click the tile for the required event template or press the shortcut key indicated on the tile.
You can identify event template tiles by the additional icons on the tile. If a shortcut key exists, that is also shown on the tile. The icons indicate the type of the action assigned to the event template, which can be one of the following:
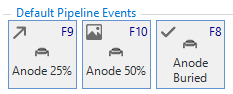
(tick): Indicates a One-Click Record action type.
(arrow): Indicates a Launch action type.
(image): Indicates a Launch with Image action type.
Depending on the event template type that you selected, you can proceed as follows:
If you have selected an event template with a
If you have selected an event template with a
If you have selected an event template with a
If the event can be matched to one or more existing tasks, you will see a Task Completion section at the top of the event form indicating that this event can complete a task and a Task section with the specific tasks listed. You can choose which tasks to complete using the checkboxes.
To create the event record, save the active event in either of the following ways:
Click Save in the toolbar to save the new event entry, which will be visible in the Event Listing pane. The event gets closed in the Active Events pane.
Click Save & New to save the new event entry and immediately create a new one with the same event type. The created event will be visible in the Event Listing pane and disappears from the Active Events pane and a new empty event record is added to the Active Events dialog.