Example: Create and Deploy Expert System Version Using Online Subscription
This example shows the end-to-end process of updating an existing expert system, creating a new version for it, making it available to clients in the client management system and deploying it in the destination database.
Prerequisites
You have previously created the expert system and in the client management system, it has been assigned to the client (that is, it appears as a sub-node under the client’s database node in the asset hierarchy).
Procedure
Open the source database and from the menu, navigate to .
Add changes to the expert system as required.
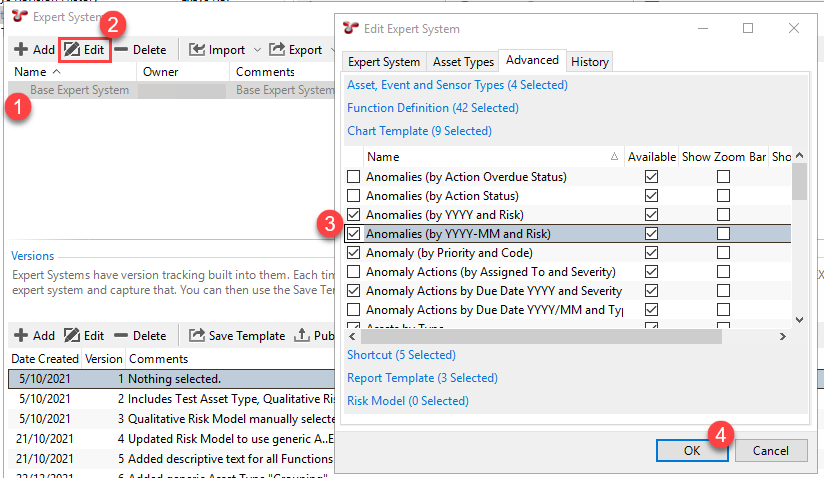
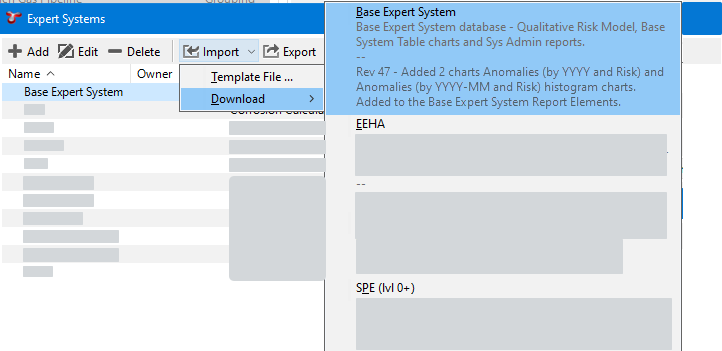
Select the expert system from the Expert Systems dialog
.
click Edit
.
Select the elements you want to include in the expert system on the Asset Type or the Advanced tabs
.
Click OK to save the expert system
.
Add a new version to the expert system.
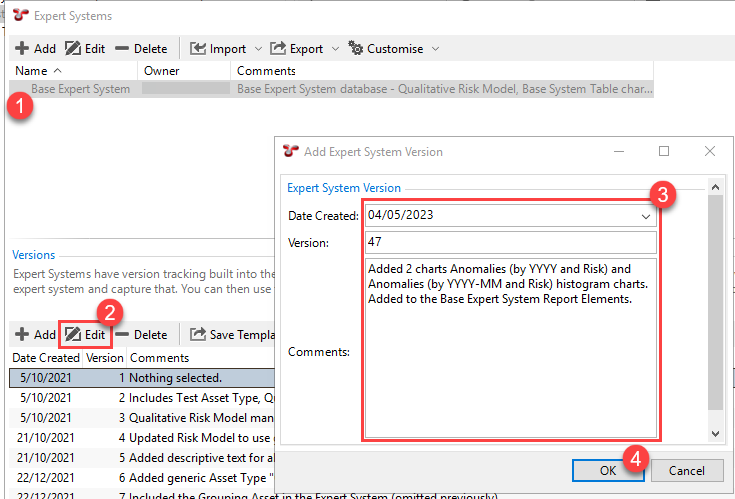
Select the expert system from the Expert Systems dialog
In the bottom part of the dialog, under Versions, choose Add
Enter a description for this version in the Comments field. The date and version number is auto-populated
Click OK to save the version
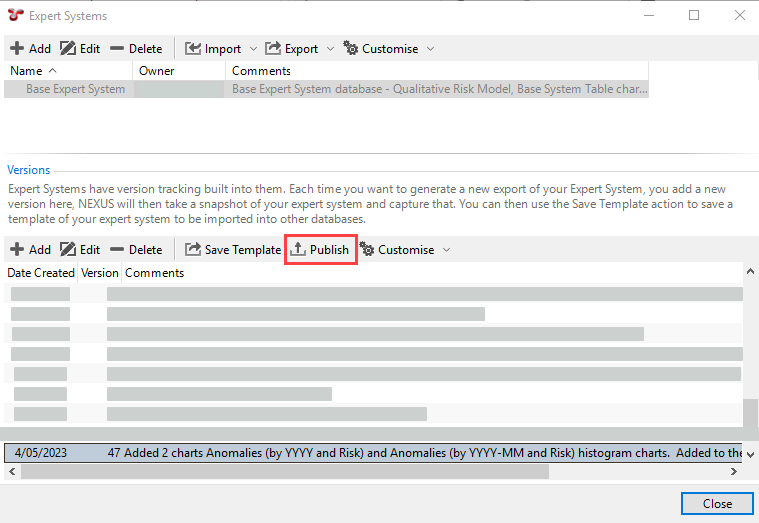
Publish the new version of the expert system by clicking Publish in the toolbar under Versions.
Result
The new expert system version is added to the Wood client management database (NEXUS_Clients).
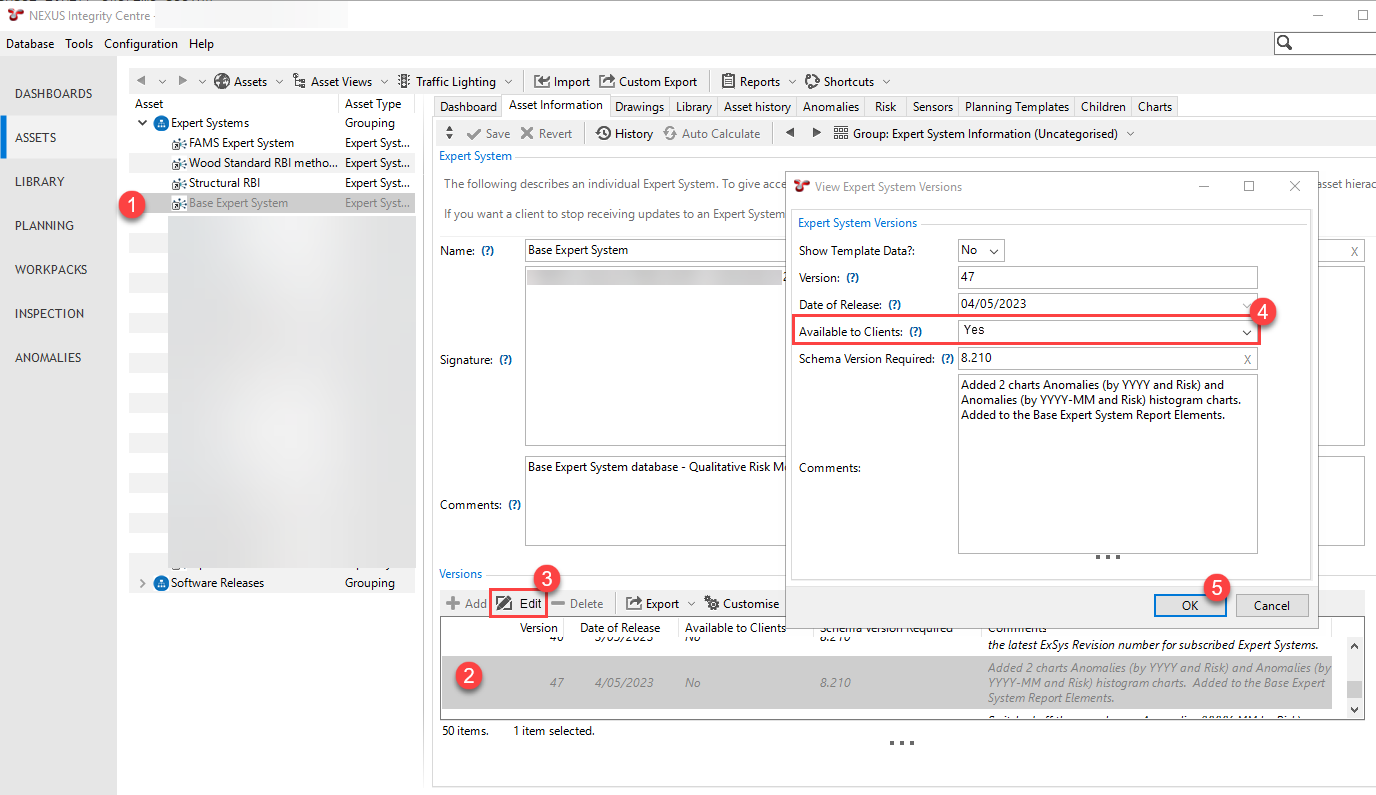
Open the client management database (NEXUS_Clients) and make the version available for clients.
Select the relevant expert system from the asset hierarchy
On the Asset Information tab, under Versions, double-click the new version of the database or select it
In the dialog that opens, change the value of the Available to Clients field to Yes
Click OK
.
Result
The new expert system is now available for download in the client’s database.
Open the destination database and navigate to from the menu.
In the Expert Systems dialog, click .
Select the expert system version that you want to import.
In the Summary of Items to Import dialog, you can review all the elements that are included in the expert system. In the State column, you can filter the results to see all the elements or only elements that differ from the elements that exist in your database.
Click Import.
Result
NEXUS retrieves the configuration template via the internet and makes the required changes in the destination database. It applies all the new or changed elements but it does not touch elements that are unchanged or exist in your database additionally.
Close and reopen the database for the changes to take effect.