Install NEXUS Software
Select a member of the SQL Admins Active Directory group to install NEXUS IC (using the nexus setup nnnnnnnn.exe file provided to you by Wood) and ensure that this account is also a member of the NEXUS Backup Folder Active Directory group.
Genuine NEXUS setup installers are digitally signed by Wood Australia PTY LTD.
If you are installing via command line, see the installer manufacturer’s website for details of command line parameters.
After installation, launch NEXUS application to trigger the Database Connection Wizard.
On the first page of the wizard, choose Specific Windows / Domain User authentication and provide the username and account password of a user in the SQL Admins Active Directory Group as shown below:
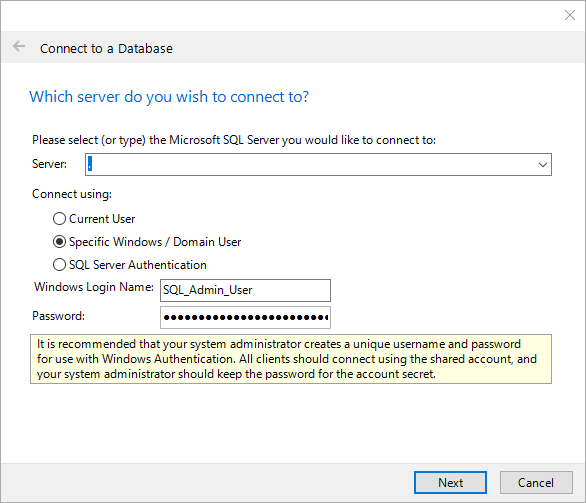
Click Next.
On the second page of the wizard, enter the following:
The full path to the NEXUS backup file. This may be a UNC path (such as ‘\\FILE_SERVER\NEXUS_SQL_Backups’) or if the database server and NEXUS IC are running on the same machine, it may be a Windows path (like ‘C:\Database Backups’).
The name for the new database (for example, “NEXUS”).
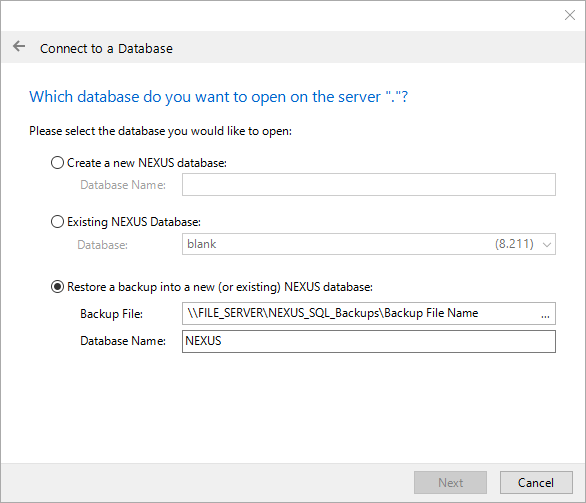
Click Next to restore the database and confirm connection to the newly restored database.
In the Licence prompt that appears, enter a valid license key and choose Request License.