Maintain Event Details
Once you have launched a task (see Launch Tasks), you can enter data against the task on the Event Details screen. Data entered for a task is then saved as an event record.
For each type of task, there’s a corresponding event form. These forms can be designed in NEXUS IC. For more information, see Configure Event Types.
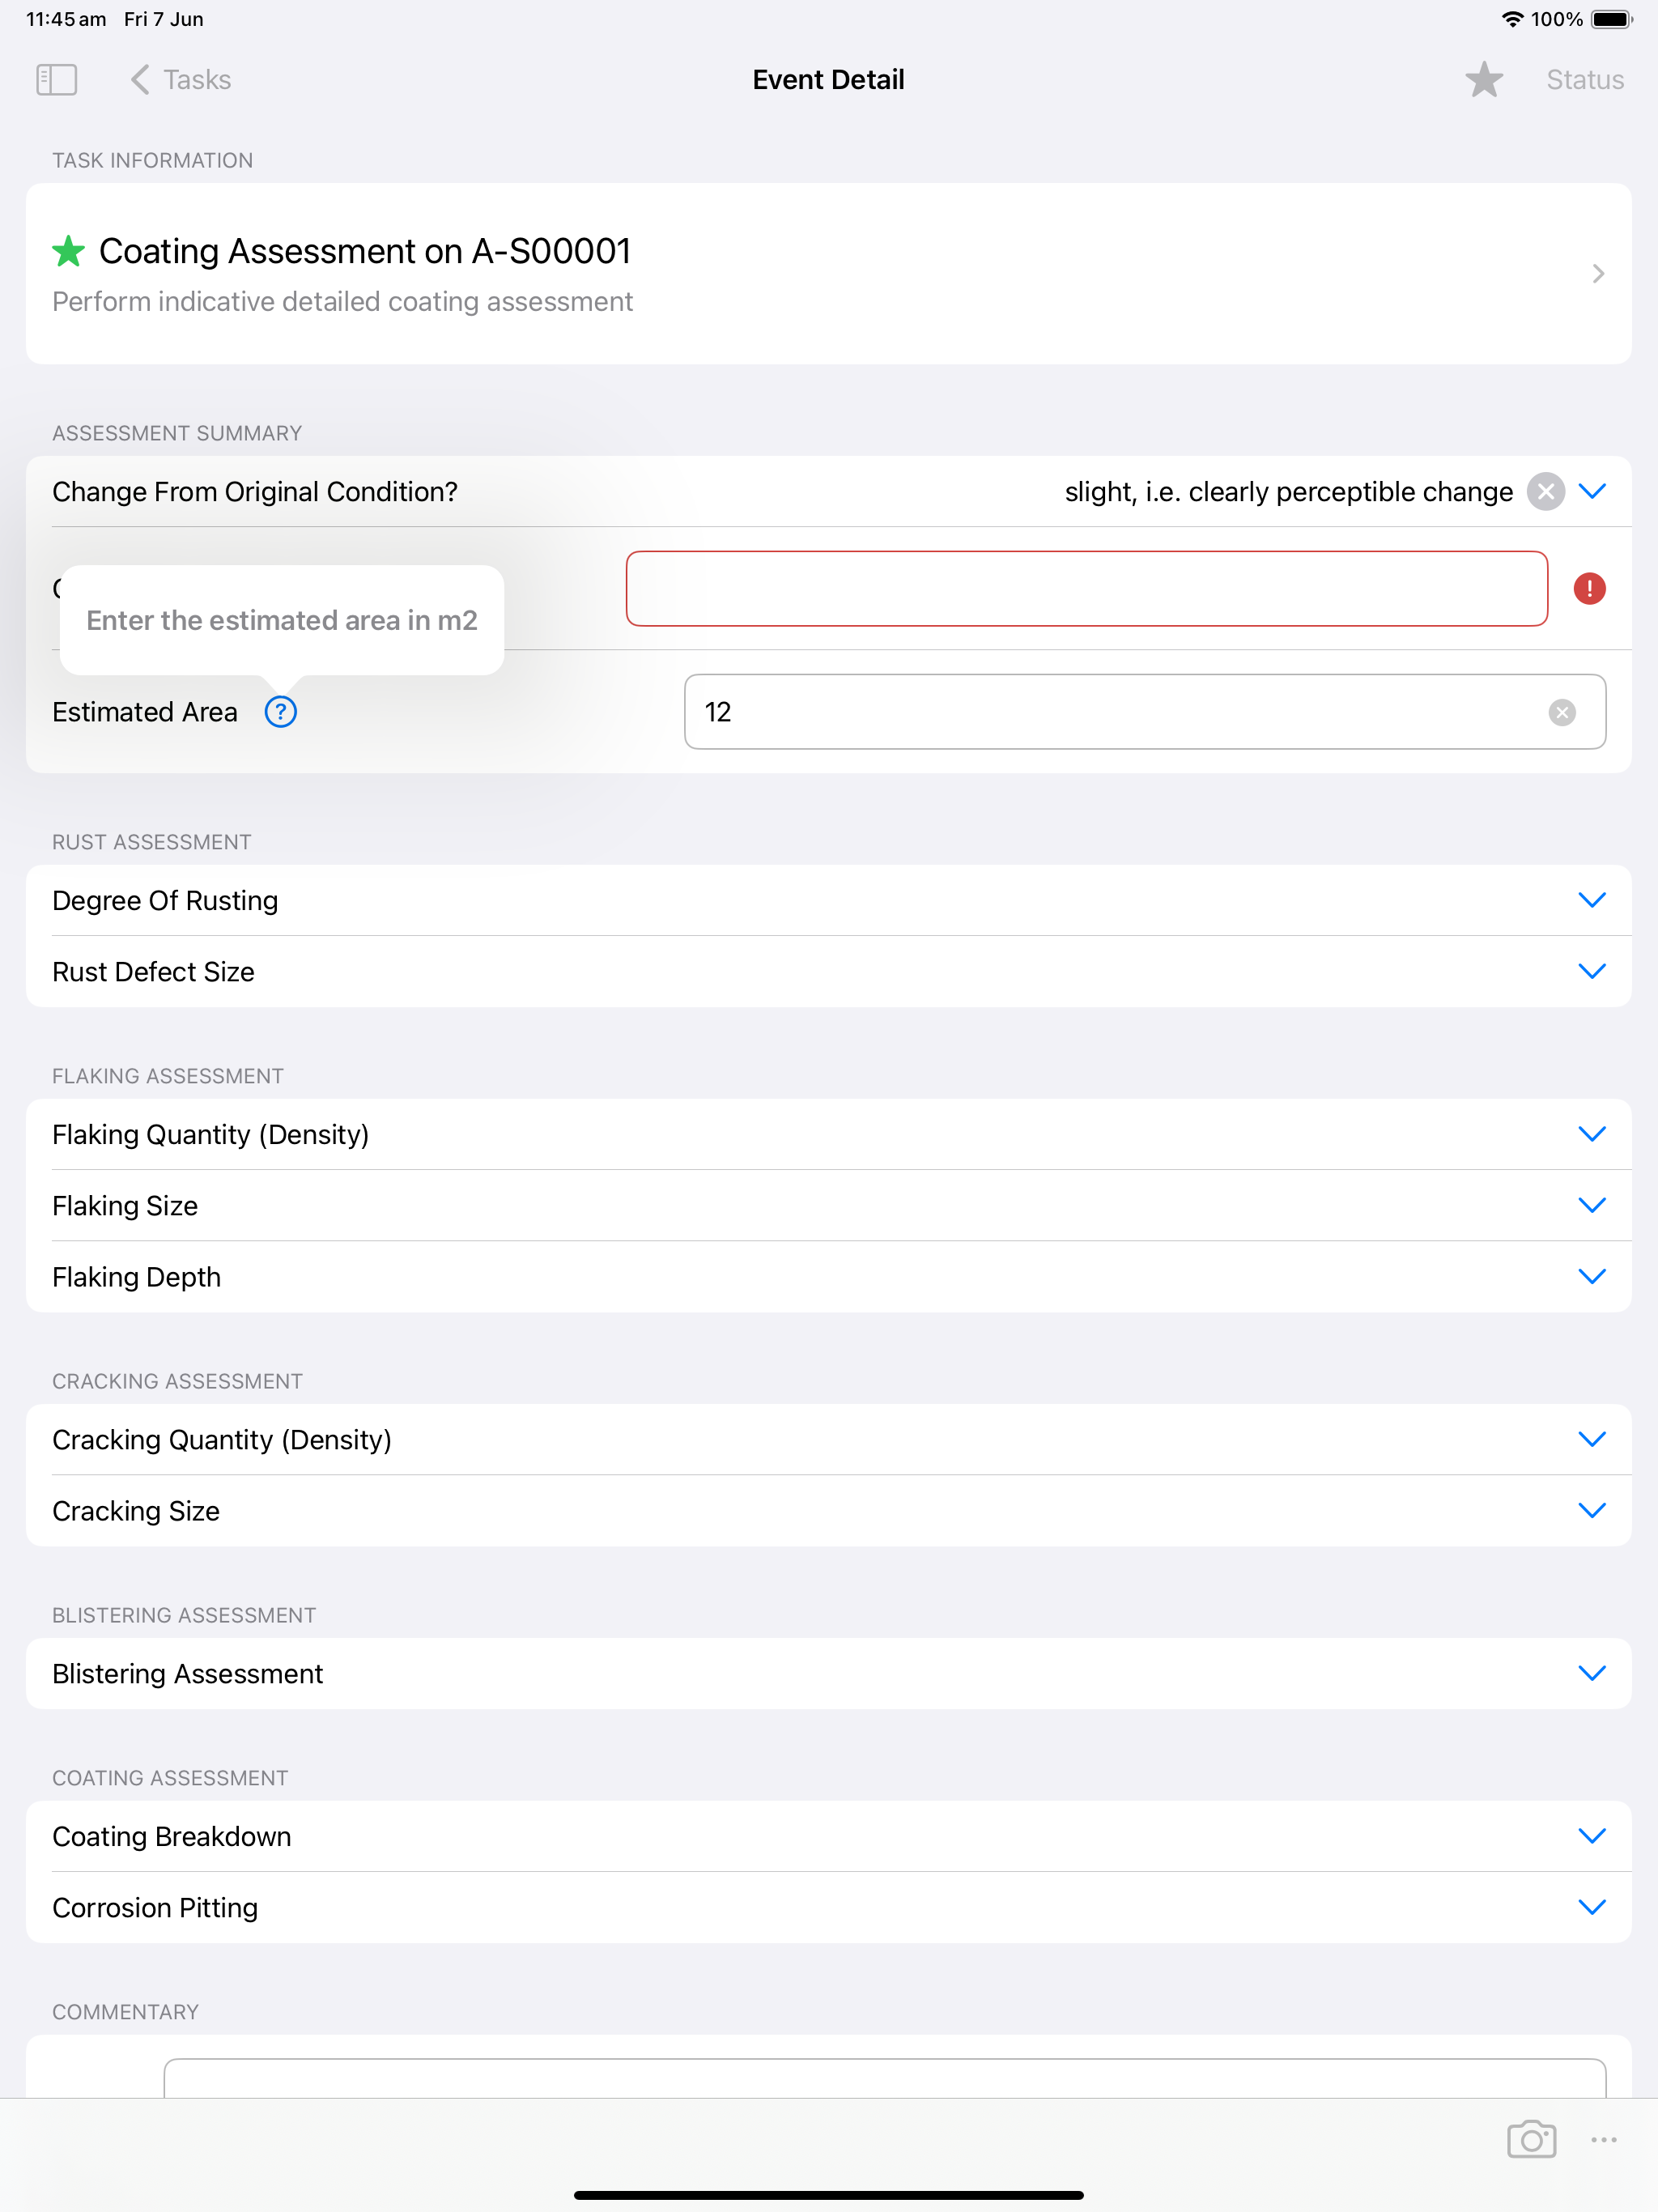
You can fill details into the form as required. Note the following:
A red
icon indicates that there is no value entered for a field that is required, or an invalid value is defined for the field (for example, the text is too long in an edit box).
You can clear a non-required field by tapping the
clear icon.
If a field has a field help, you can view it by clicking the
icon visible next to the field.
Delete Ad Hoc Events
For ad hoc events, the Delete button is visible, which you can use to delete the ad hoc event from IC-Inspector.
Check Task Information
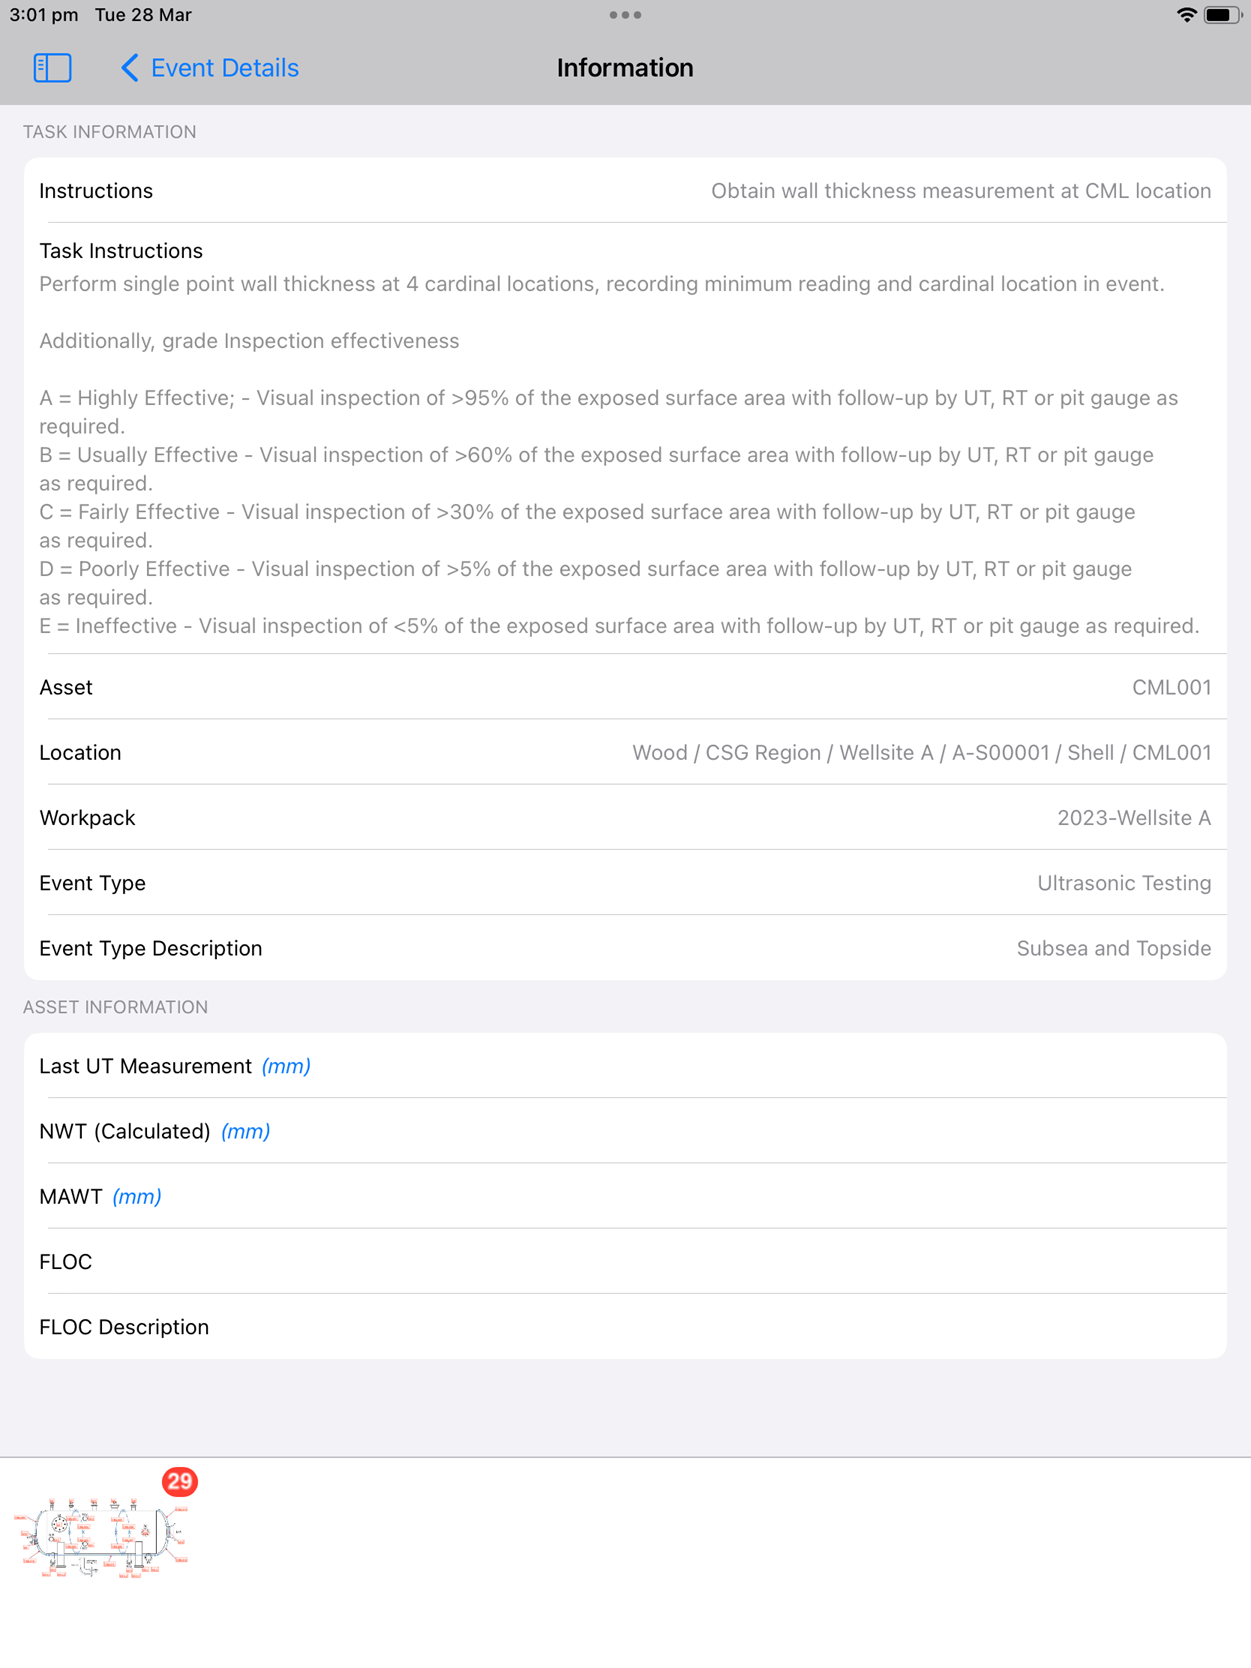
Tap on TASK INFORMATION to see details of this task (the asset name, event type, asset location, any task instructions, and any drawings directly linked to this asset). If any Asset Information Group is configured to be shown in IC-Inspector (see Configure Asset Information Groups), it will be shown on this screen.
Note that the Task Instructions section is shown only if there’s actual task instruction data assigned to the task.
Convert Unit for Numeric Fields
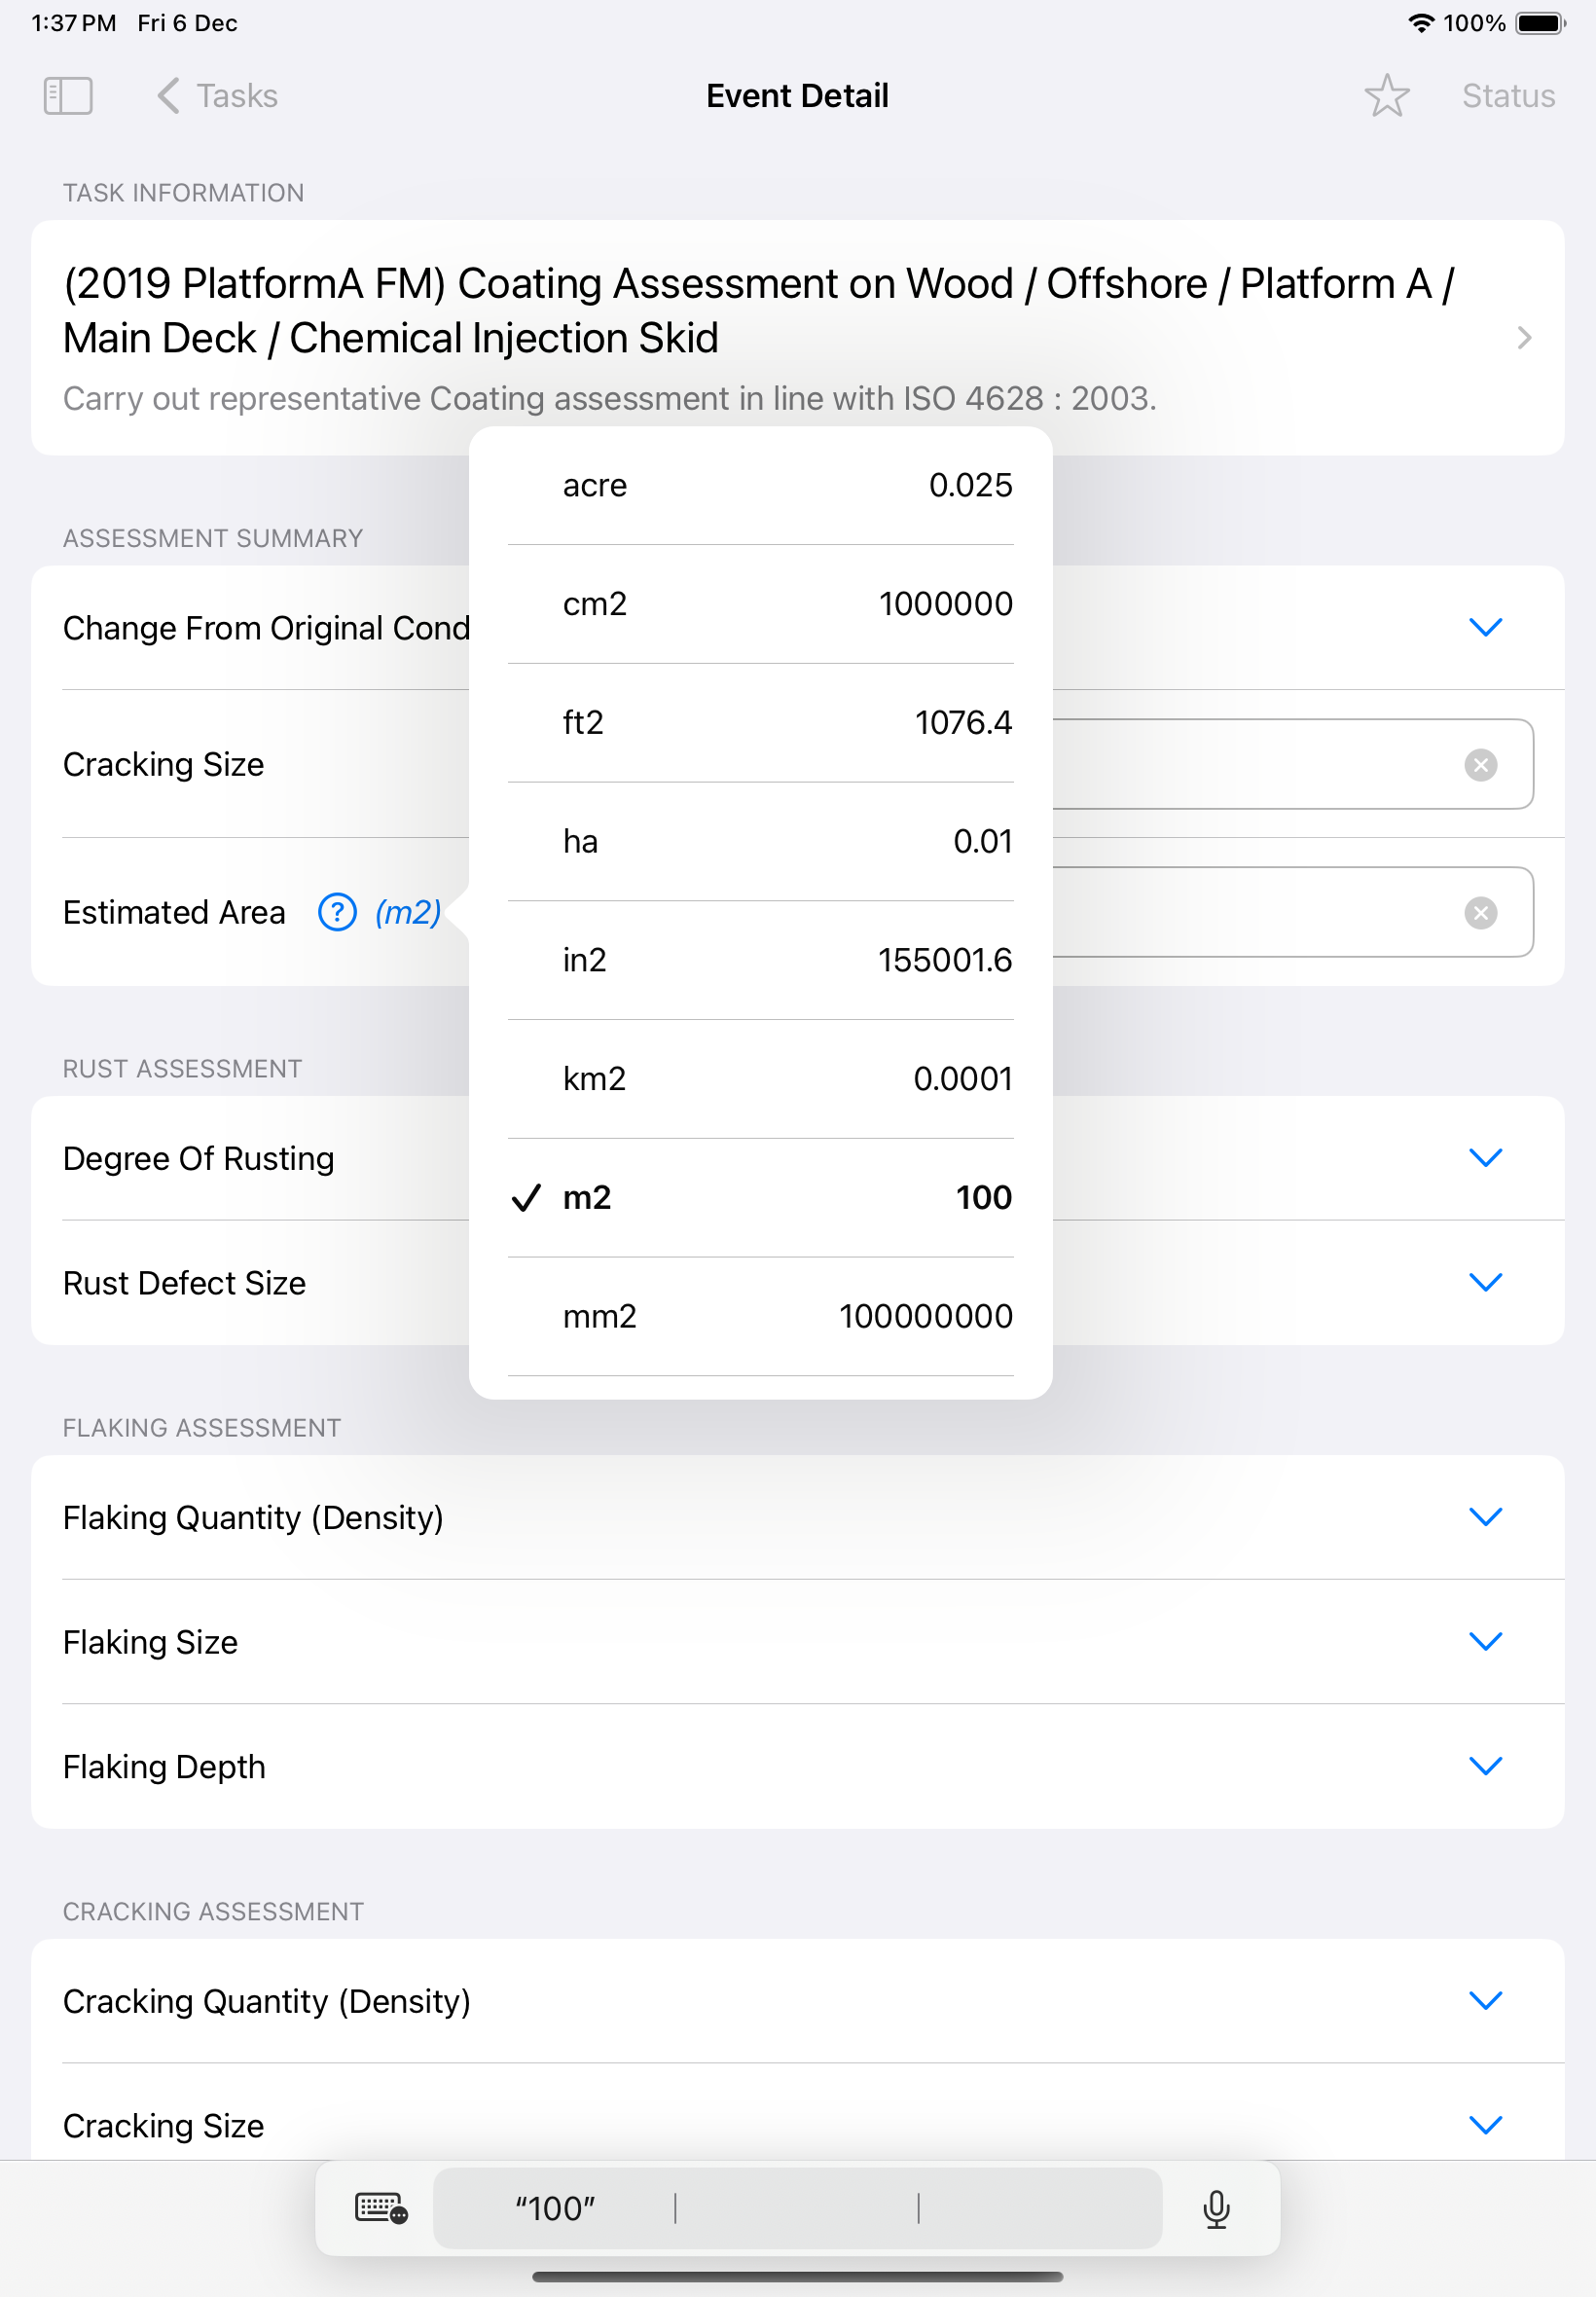
If a unit value has been assigned to a numeric field in NEXUS IC, you can convert it to another unit on the Event Details screen. To do this, click on the blue unit value next to the field and choose the required unit from the context menu. The field’s value will then update to reflect the selected unit.
Bookmark Events
You can “bookmark” an event by tapping  . The icon will change to
  . You can tap again to remove the bookmark.
Bookmarking is used for user-defined purposes, its purpose is defined by the requirements of your organisation. Its usual use is to flag events which require review, for example, checking grammar, checking that you are on the correct asset, sense-checking data recorded. You can also add text in the Notes field indicating the reason you have bookmarked this event. Bookmarked events will be flagged with a green star in NEXUS IC’s Event Listing.


