Worked Examples
Populate event fields with device data
IC-Inspection can be configured so that incoming survey data can be auto-populated in discrete event fields. The following worked example details the steps to configure the survey data fields.
Step 1 - Configure Survey Device
In IC-Inspection we should ensure that one of our survey devices contains the survey field name that we want to map to our event field.

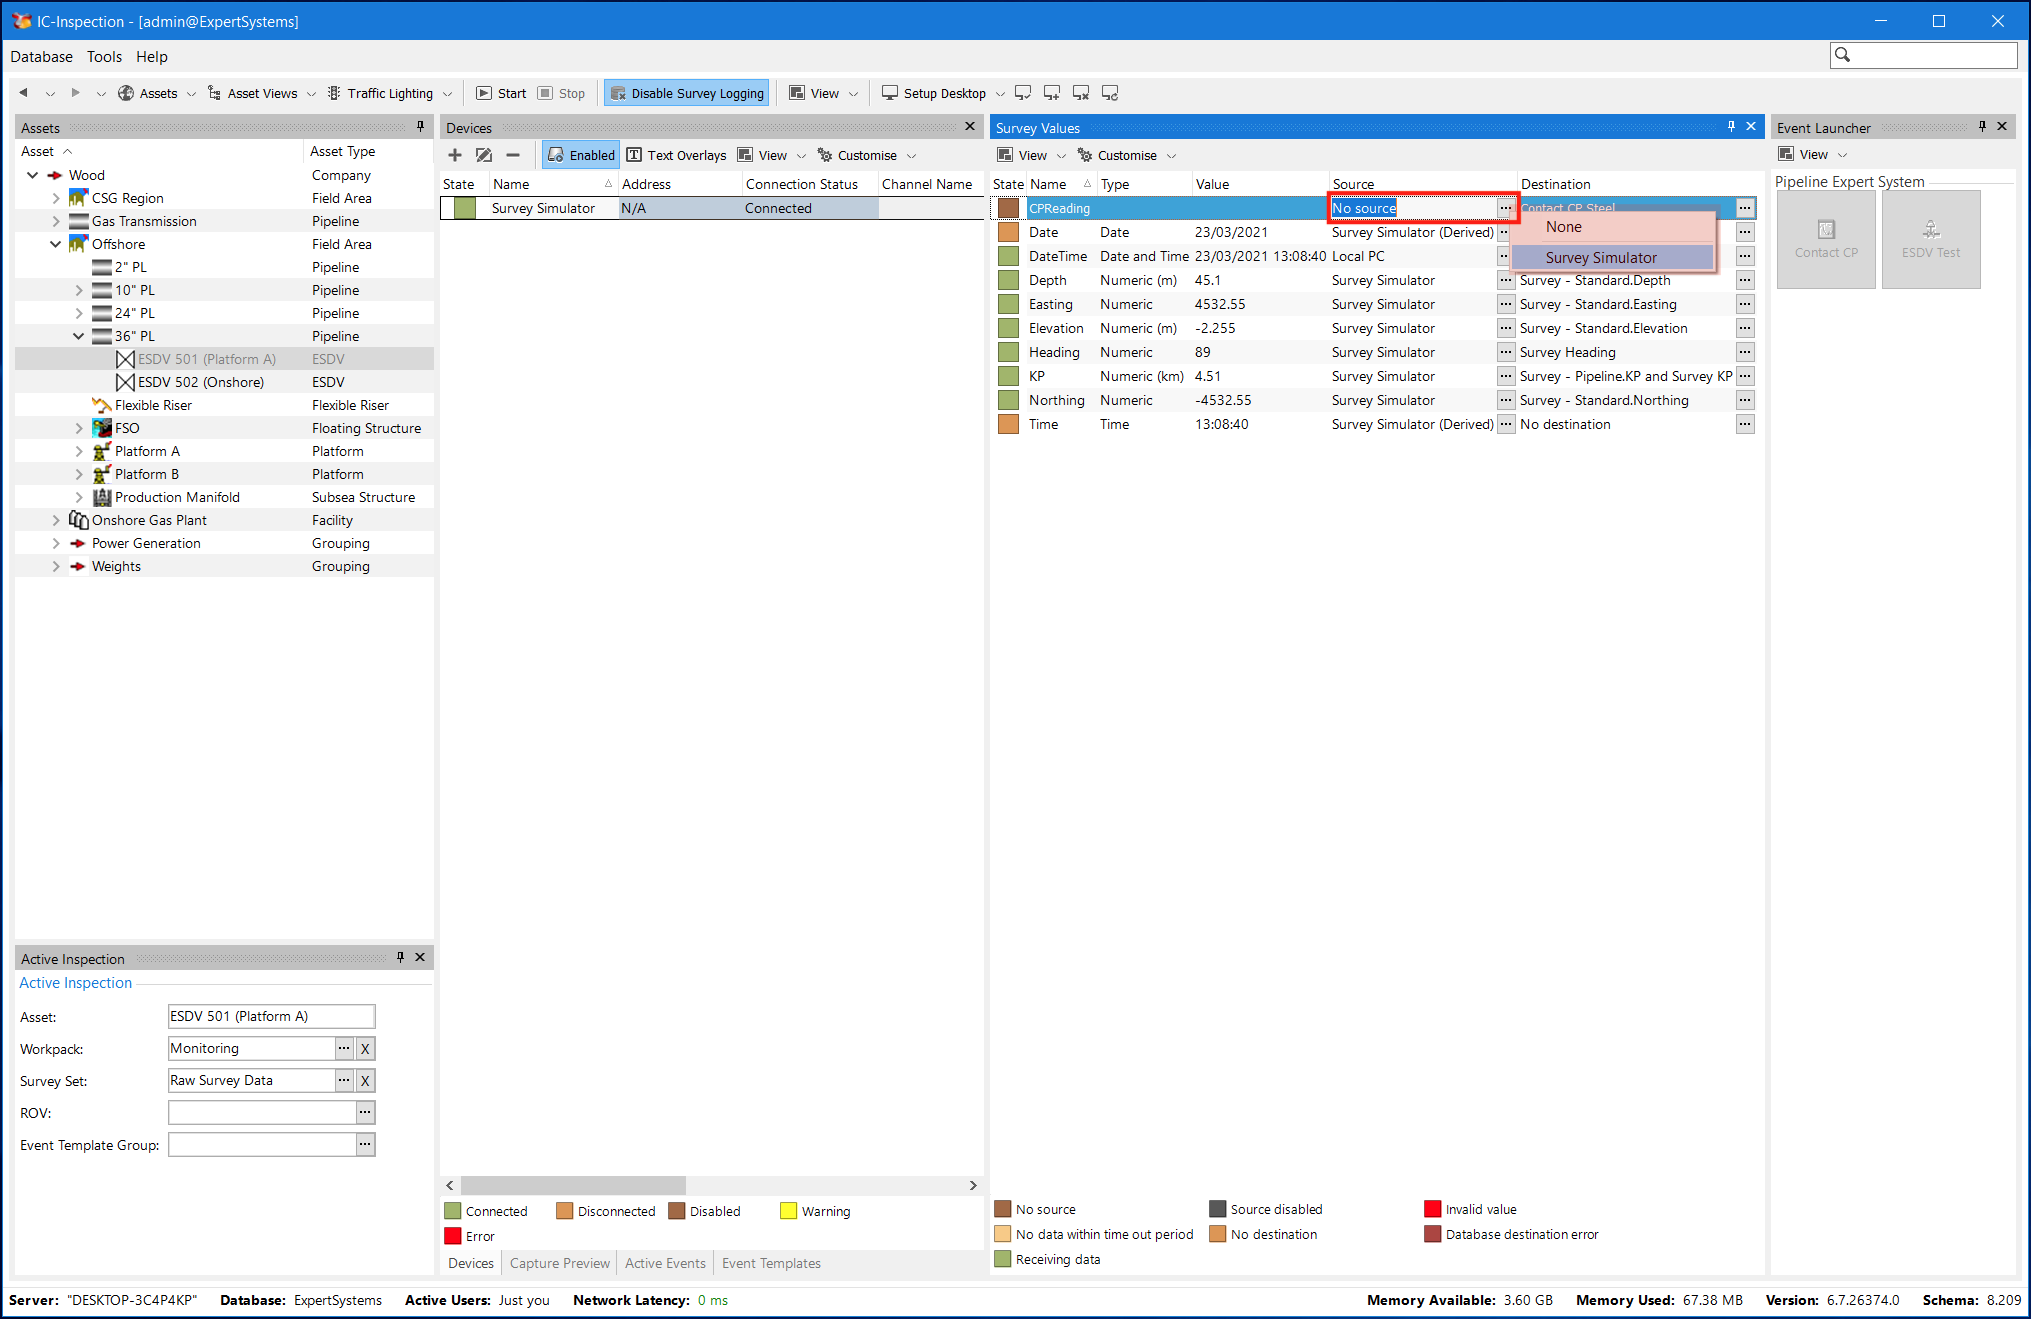
Step 2 - Setting Survey field source
In the ‘Survey Values’ frame, set the source of the survey field to the survey device we are using.
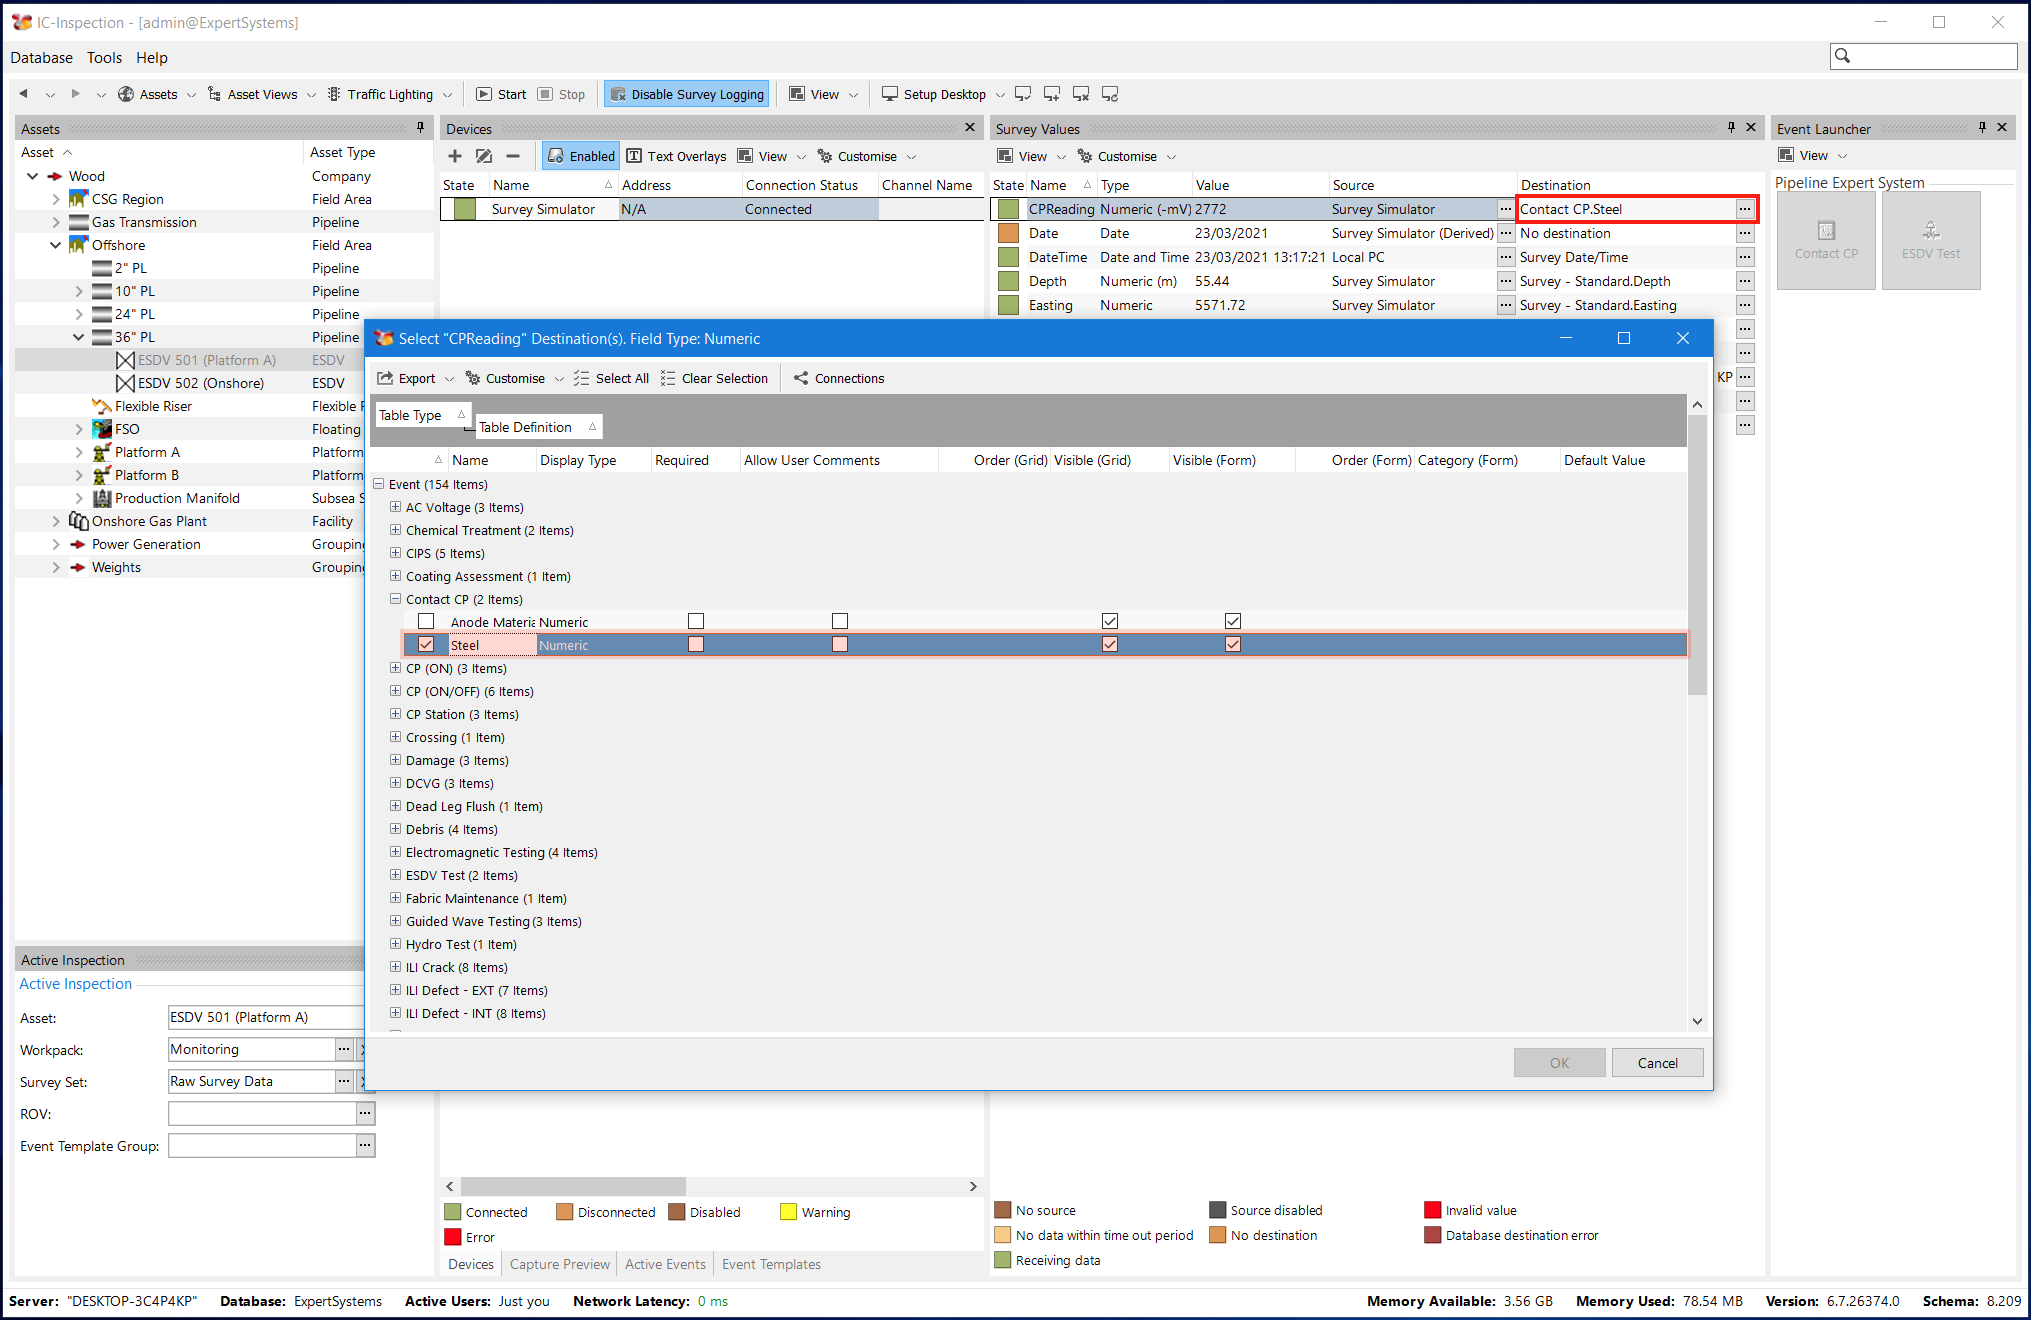
Step 3 - Setting Survey field destination
In the ‘Survey Values’ frame, select ‘Database Field(s)..’ from the Destination menu in the grid. In the dialog that appears, select the event field that we wish to map to the survey field.
Step 4 - Testing auto-population
Now we can test that the field is being automatically updated.
- Start the inspection by the Start button on the main toolbar.
- Select an asset type that is associated with our event, in this example we select an ESDV asset.
- Launch the event that has the event field mapped.
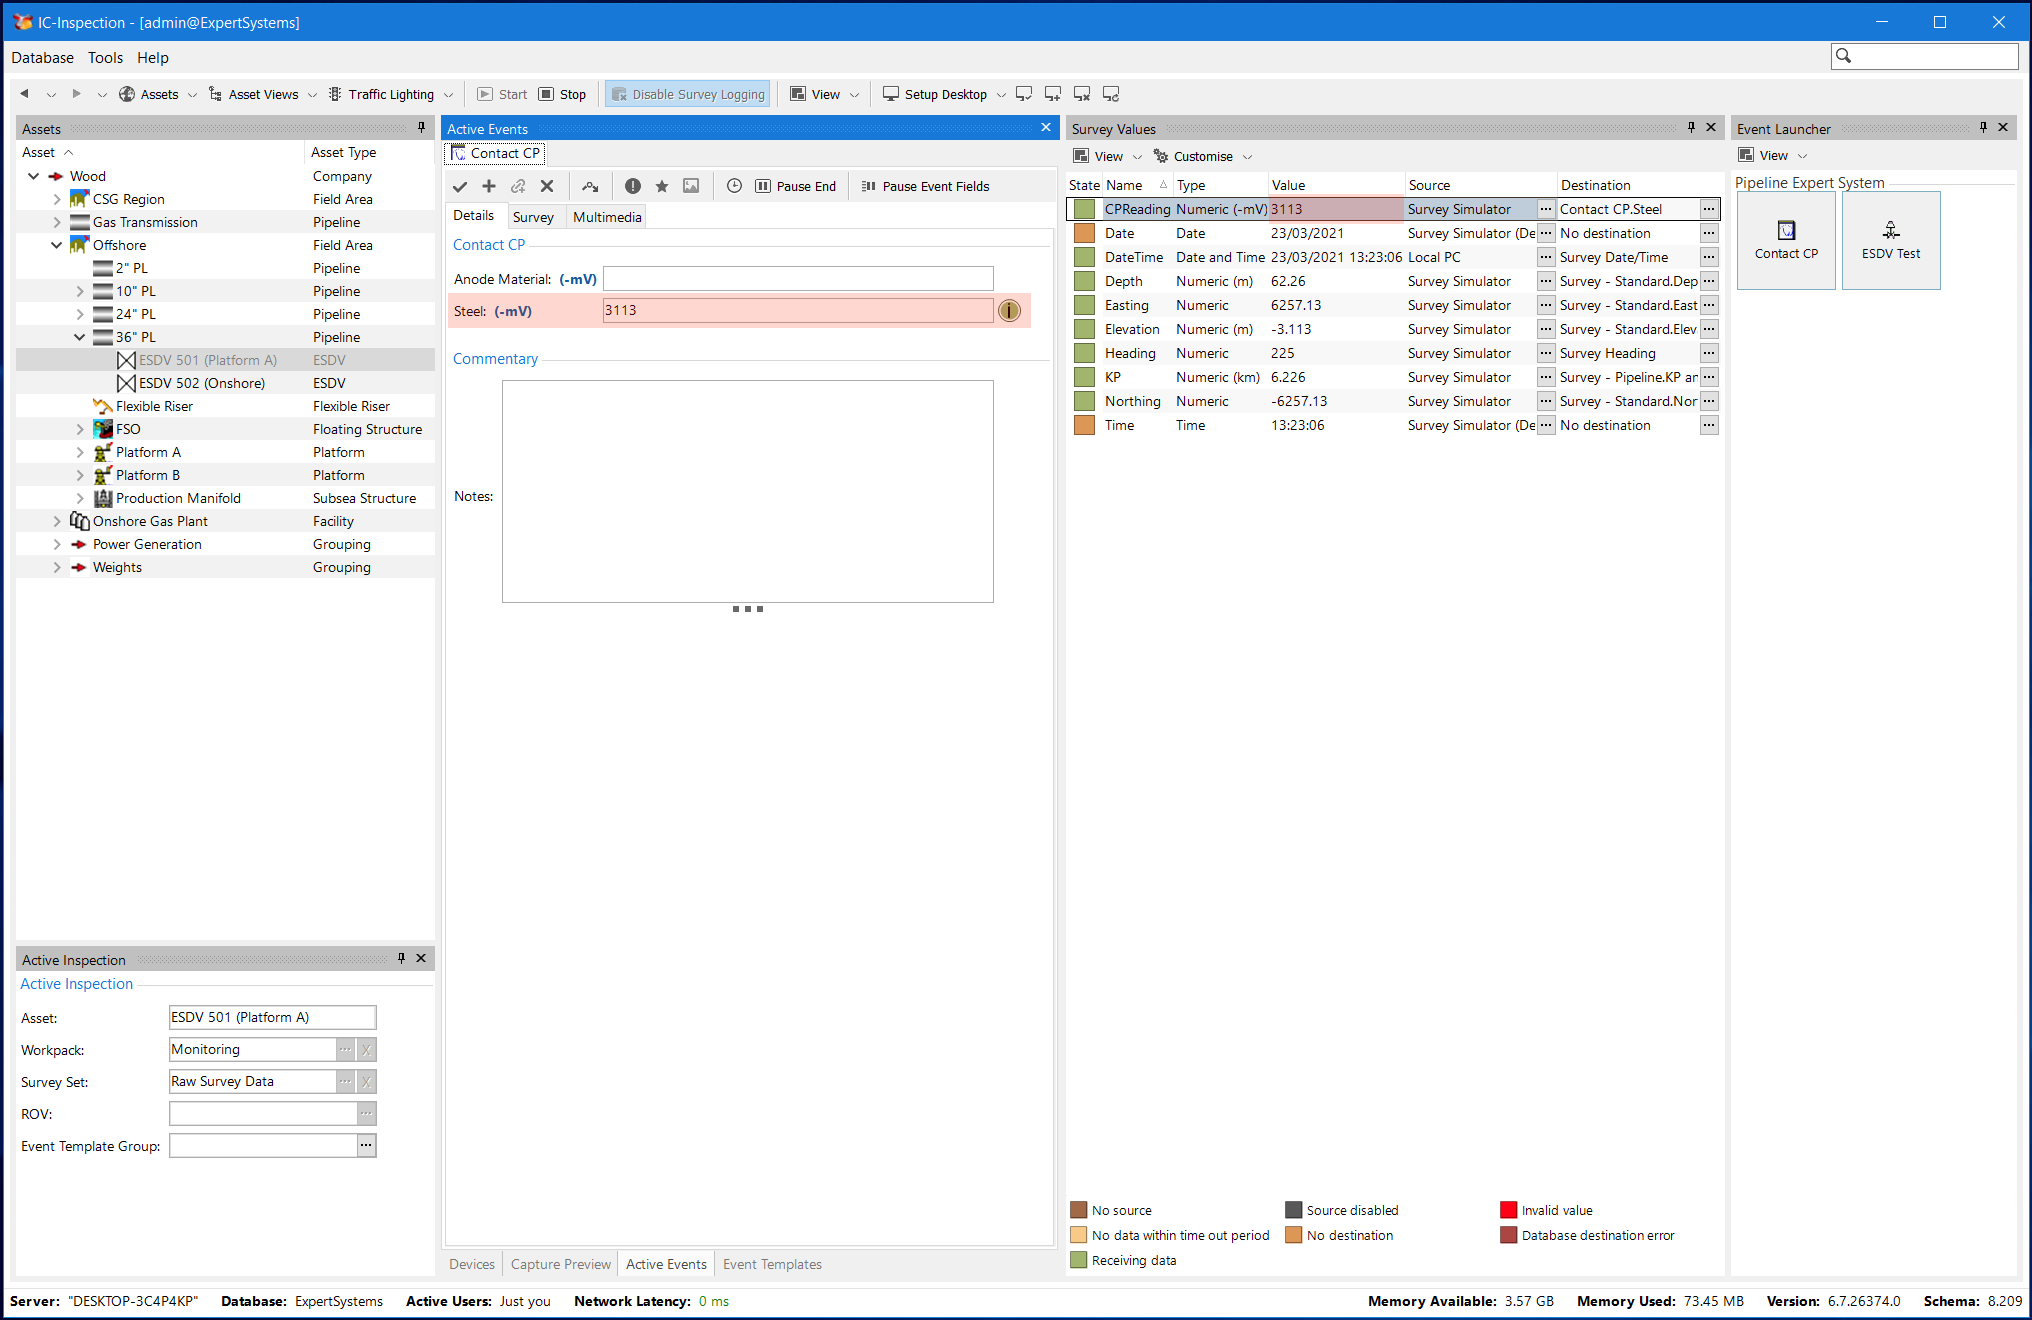
Now we can compare the survey value on the Event form to the value displayed in the ‘Survey Values’ frame. If the field has been mapped correctly, the active event value will automatically update with the survey value. Automatic event field updates can be paused/resumed by toggling the ‘Pause Event Fields’ button. Toggling the (i) button next to the field will also perform the same functionality.