Active Events
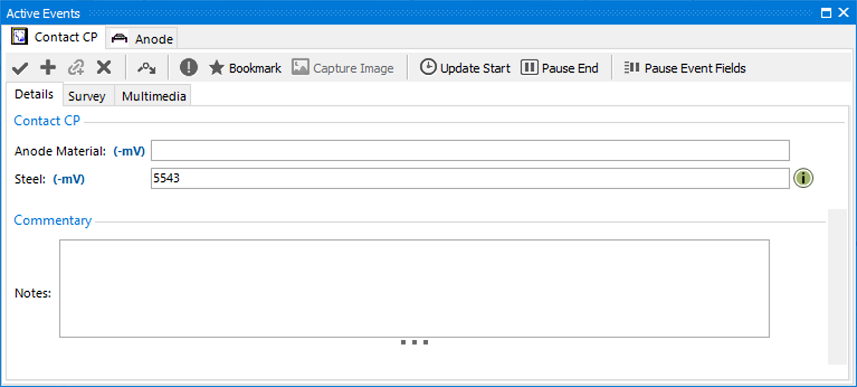
The Active Events panel displays all the events that have been launched but not recorded, called the “active” events, and the data entry tabs for the currently selected active event. If more than one event is active (i.e. launched but not as yet recorded), then you will see tabs on the left-hand side of the panel, with one one for each active event. Each tab has the name of the event type it contains, but no event number — unsaved events do not yet have an event number. The panel has tabs for event Details (with an area for a descriptive comment for the event), Survey information, Multimedia and a manually created Finding (if present).
Hint
IC-Inspection can be configured to auto-populate event fields with incoming survey data. See Worked Examples for more information.
Events Toolbar
- Commits the active event and associated data to the database. Once the event has been recorded (or saved), then it will no longer appear in the Active Events panel.
- Saves the active event and associated data to the database and creates a new event of the same event type. Note that they are two distinct events.
- Saves the active event and associated data to the database and creates a new task to represent the outstanding work. Use this button when you have completed some but not all of the work represented by a single task; e.g. you have inspected part of an asset but have stopped because of bad visibility, etc. Save and Hold is only available on events that were launched from tasks, not on events that were launched ad hoc from the Event Launcher.
- Cancels the active event without saving to the database.
- This menu item will change the active asset in the Asset hierarchy to the asset of the current event. By navigating to a different asset in the hierarchy, this will also update the tasks shown in the task list, the asset shown on the overlay, etc.
- Launches the Findings tab in the Active Events panel.
- Captures a snapshot from the incoming video signal and references it to the active event. Within the Capture Image dialog, you can select/unselect and crop images. To crop, click the Crop button or Ctrl-X, then click and drag a rectangle on the image. To complete the crop, click the
 button, or Crop To Selection, or Ctrl-Shift-X.
- Creates a bookmark on the current event as a reference for the data reviewer.
- Updates the start survey information of the active event with the survey data gathered at the time of the button click.
- Pauses the end survey information of the active event. By default, the end survey information is updated whilst the event is visible in the Active Events panel and is updated by incoming serial survey information whilst the event is active.
- Pauses automatic updating of the value linked to the event’s survey field. By default, the value is updated by incoming serial survey information whilst the event is active.
Adding an Event
There are several ways to add an Event for editing in the Active Events panel:
- Event Launcher - Click on the required event type to launch in the Active Events panel.
- Event Launcher - Click a pre-defined Event Template to launch it.
- Click on the Save and New toolbar button in the Active Events panel. This will save the active event to the database and launch a new event of the same type.
- Drawings panel - Using a Task button on the Drawings panel.
- Tasks panel - Double-click the task in the Task grid or click the Launch toolbar button to launch the selected task.
- Tasks panel - Click the Launch Template drop-down and choose the event template you want to launch this event with.
Creating a Finding
To create a Finding for the active event, click Raise a Finding in the Active Events panel. This will activate the Findings tabbed page in the Active Events panel. Enter the Description and Remedial Action/s and choose an anomaly code from the Code dropdown list.
Only one finding can be manually created for an event. Multiple findings can be created automatically by Anomaly Triggers. If you see a yellow exclamation mark ( ) next to one or more fields in your event form, this is because one or more anomaly triggers have been violated, and a finding will be automatically created for each.
Completing a Task
If this event is launched from a task it will have a “Task” section at the top of the event form with a Complete Task checkbox. If this checkbox is left ticked, then when you save the event, the task will be completed. If this event is not launched from a task, but matches an existing task, you will again see the “Task” section. Tick the checkbox if you would like to use this event to complete the task. If there are multiple tasks that this event could complete, you will instead see a Select Tasks button which will let you pick which task(s) to complete.