Set up a Shortcut to send an email
In the following example we will create a Shortcut which sends an email when data in an AIG is edited and saved.
Step 1 - Create the Shortcut
Go to and click on the Add toolbar button.
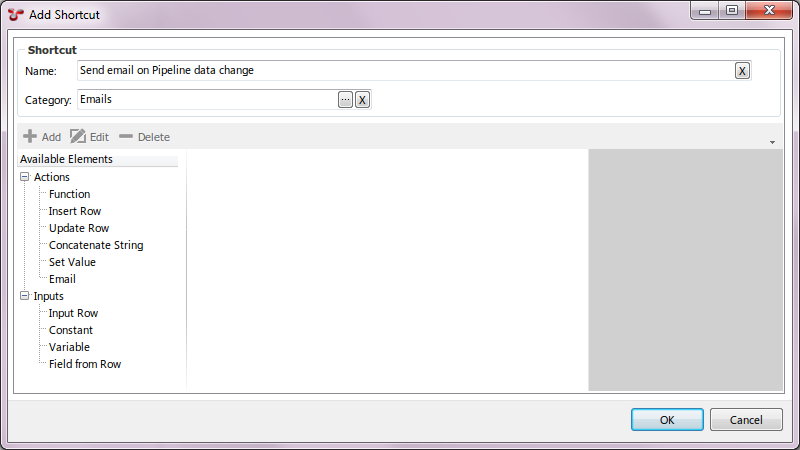
Input requirements for the Shortcut are Name (mandatory field) and Category (non mandatory field).
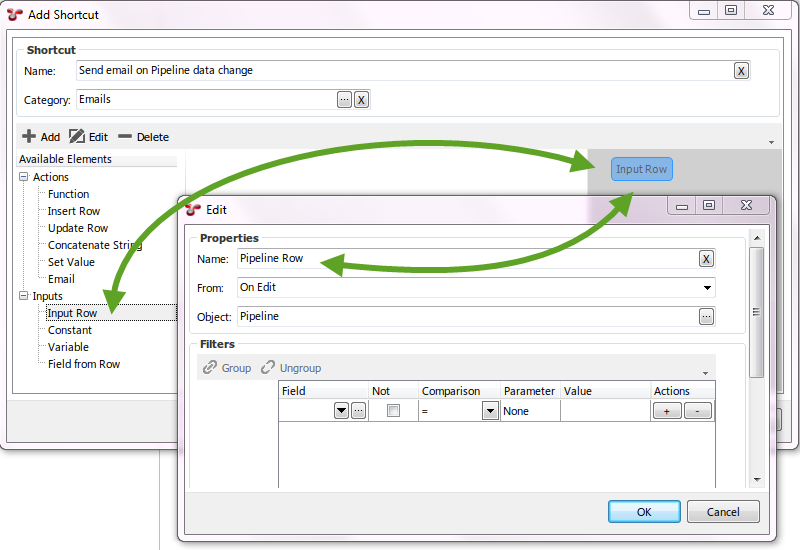
Step 2 - Set up the Shortcut Trigger
The trigger for sending the Email is going to be the AIG titled Pipeline. So that when any user edits any data in this AIG, an email will be generated and sent to the specified recipient.
To set up the trigger for the email, we need an Input Row element. Click on Input Row under the Inputs group and drag it into the Shortcut workspace.
Input requirements for the Input Row is Name (type the name of the triggering AIG here), From (choose On Edit from the dropdown list) and Object (choose the AIG table Pipeline).
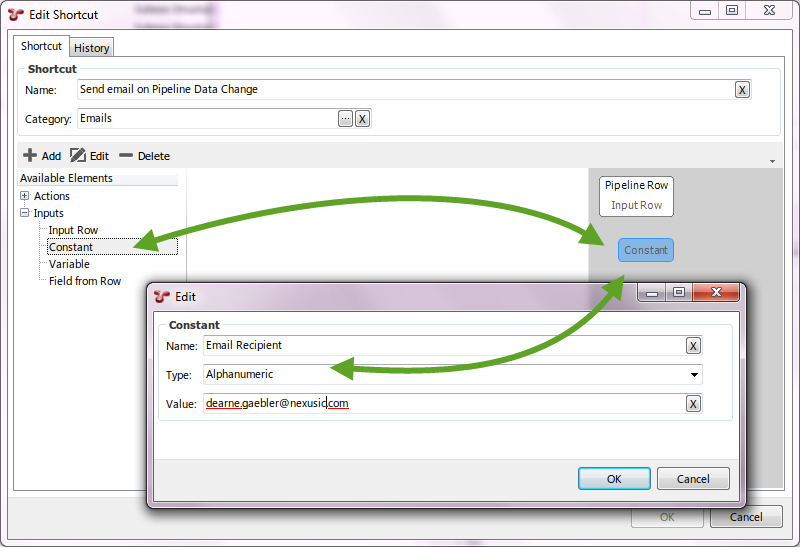
Step 3 - Set up the Email Attributes
We need to define the email Recipient, Subject line and Body text. To do this click on the Constant element under the Inputs group and drag into the shortcut workspace. Edit the Constant and enter the Name (“Email Recipient” so that is identifiable later) and Value (your email address) and click OK.
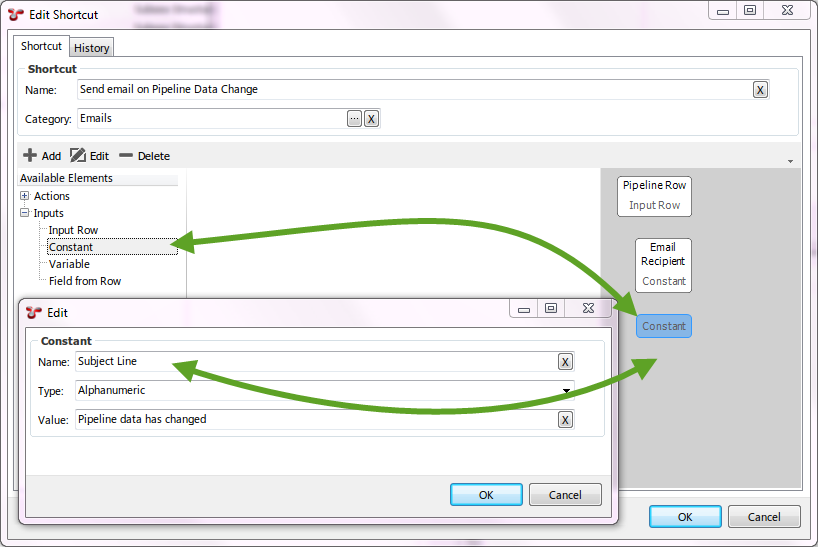
Click on the Constant element under the Inputs group and drag into the Shortcuts workspace. Edit the Constant and enter the Name (“Email Subject” so that it is identifiable later) and Value (your email address) and click OK.
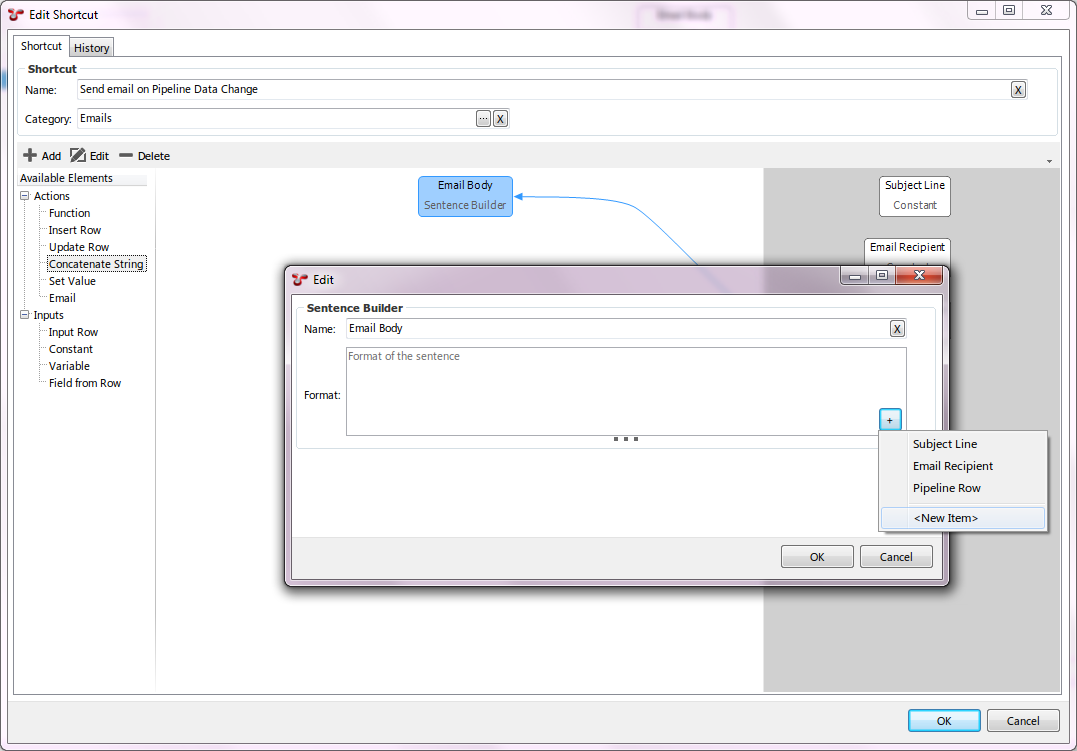
Click on the Concatenate String element under the Actions group and drag into the Shortcuts workspace. Edit the Sentence builder element and enter the Name (“Email Body” so that it is identifiable later).
We are going to add text into the email body which is made up of information from the Pipeline AIG, click on the + button in the bottom right hand corner of the control and choose New Item.
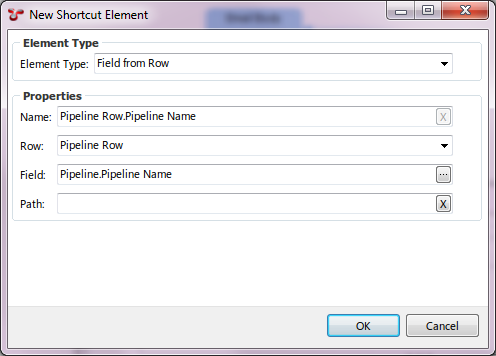
In the New Shortcut Element dialog, choose Field from Row as the Element Type. The Name field will be auto-populated based on your remaining selections. Choose Pipeline Row for the Row field and Pipeline Name as the Field.
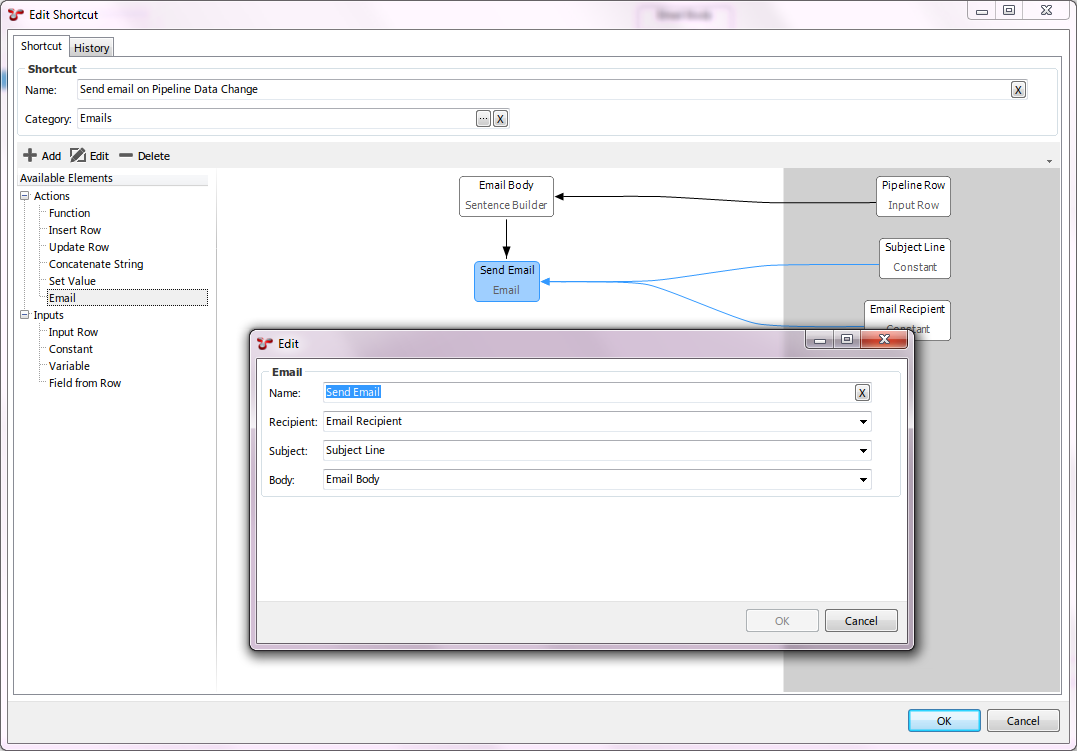
Finally, click on the Email element under the Actions group and drag into the Shortcuts workspace. Edit the Email element enter the Name (Send Email). Choose Email Recipient from the Recipient dropdown, choose Subject Line from the Subject dropdown and EmailBody from the Body dropdown.
To test this functionality, change some data in the Pipeline AIG and click save.