Event Details
The Event Details pane displays the Event data for the currently selected event.
An event represents a discrete inspection or survey item. Each event record has (as a minimum) the following data linked to it:
- Asset
- Workpack
- Start Date/Time
- End Date/Time
- Survey Set
Report Table Sources
To extract event data (common to all events) into a report template, use the System Table titled Event as the primary Table Source. To extract additional data from specific events, add fields from the relevant Events which exist in the Event category.
For more information see Report Templates.
The Event Form
Fields on event forms and sub-event forms follow the same rules and have the same features as fields on Asset Information forms.

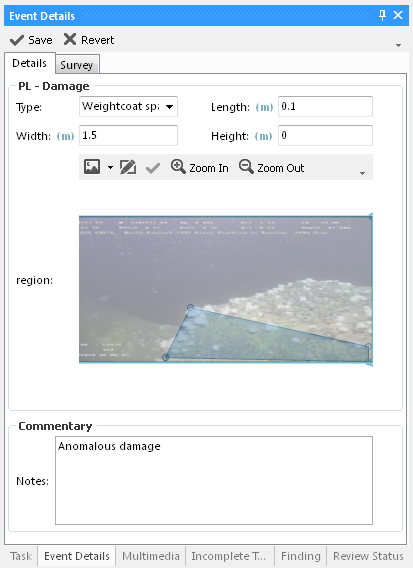
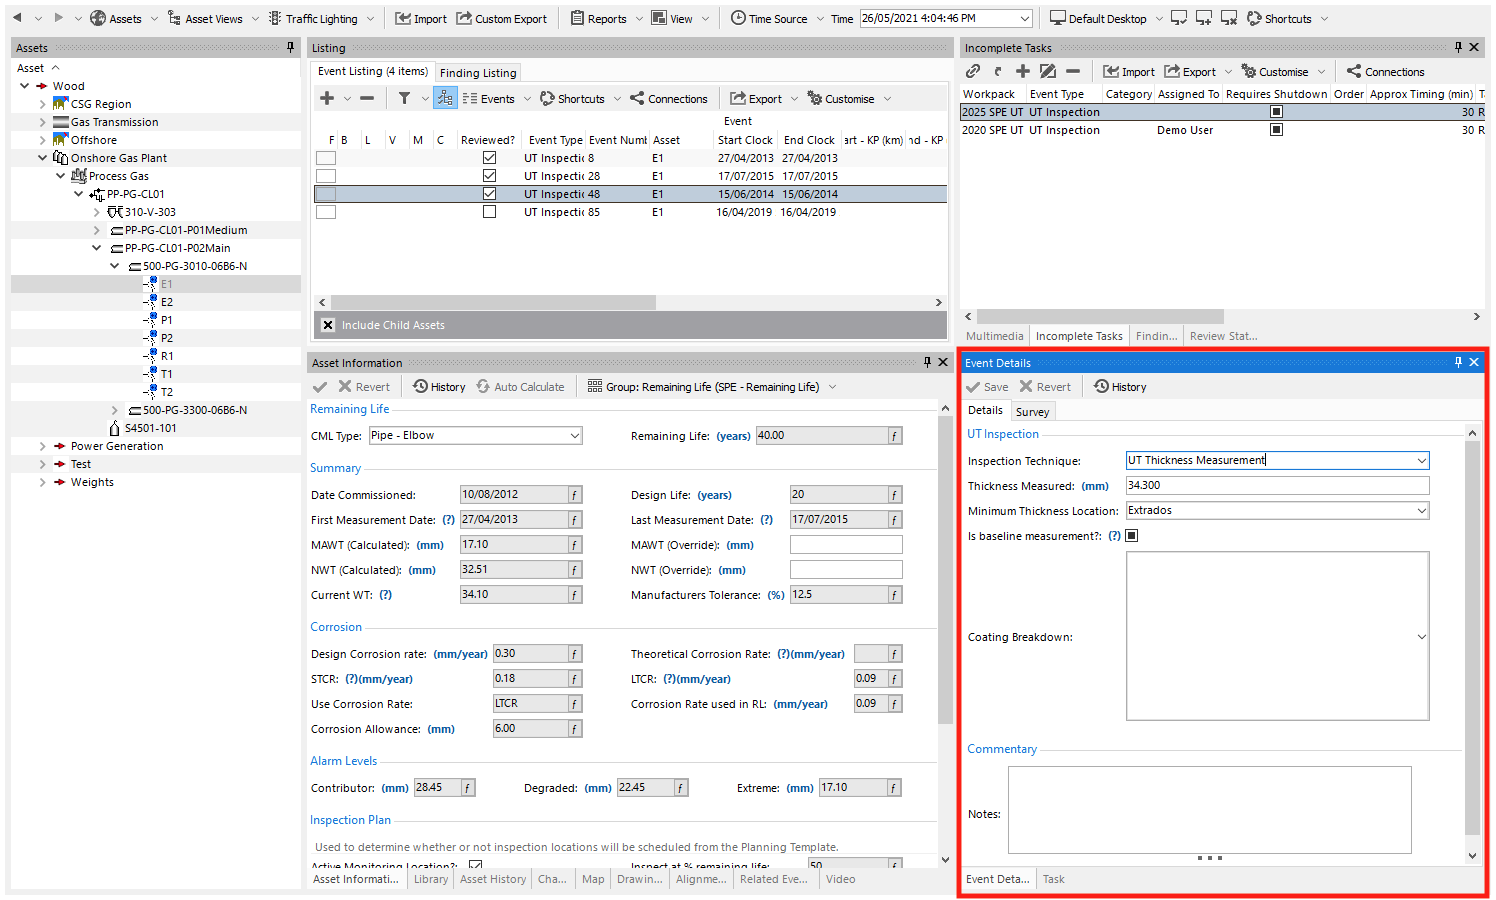
Event Details is broken into two tabs: the Details tab, containing Event and Commentary, and the Survey tab, containing key data and survey values.
Data fields specific to this event are displayed in the upper section of the Details tab. The fields displayed here are user-definable and can be configured from Event Types. Event specific data can be edited and saved using the controls in this section of the form.
The lower part of the Details tab titled Commentary has the Notes field, where free text relating to this event can be entered and saved.
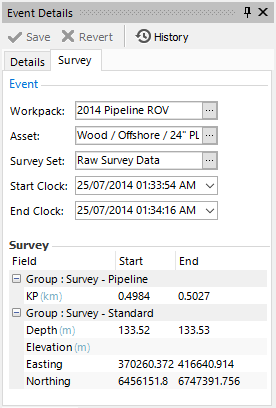
At the top of the Survey tab is Event, containing the key data associated with this event. The Workpack, Asset, Survey Set, Start Clock and End Clock can all be edited from this section. Click on the ellipses buttons to edit Workpack, Asset or Survey Set. Type in or choose from the calendar and clock control to edit the Start and/or End Clock values.
Below this is the Survey section. This shows data for each survey field assigned for this asset type. The data shown is related to the Start Clock and End Clock: if another event has the same Start or End Clock, it will have the same survey data.
Event Details Toolbar
- Saves any changes made to the current event.
- Ignores changes and reverts data in the event back to the last saved state.
- Shows a History dialog for this event.
Editing Graphical Markup On Images In Events
If one or more event types are configured to show graphical markup, you will see a region on the event form showing any multimedia attached to this event. (If there are no multimedia attached to this event, this region will show as white. If there are several multimedia, you will see them all overlaid translucently, and you should use Multimedia toolbar option to untick the ones you don’t want.) You can pan the photo by using the left mouse button to drag it. You can zoom with the Zoom In / Zoom Out buttons, or by using the mouse wheel. (You may need to click in the image region before the mouse wheel will zoom for you — this is a focus issue related to Windows.) You can then do graphical markup on the photo: click the Redraw Layer button, then click in the drawing region to mark up. (If your markup type is Point, click just once; otherwise click several times.) Then click Save Layer to complete the shape.