Photo Editing and Markup
You can edit and mark up a photo. On an event, tap a photo. You will be taken to an editing screen. You can swipe left and right to move between photos.

By default a photo is given the name of the task it was created from. To edit this, tap the name.
You can toggle the Can Report status of a photo. Can Report is an optional field that can be used in report templates to select only key photos for reporting.
At the top you’ll see four icons, for markup, crop/rotate, share and trash.

Markup
Tapping  will take you to the markup screen.
You will see tools at the bottom of the screen:
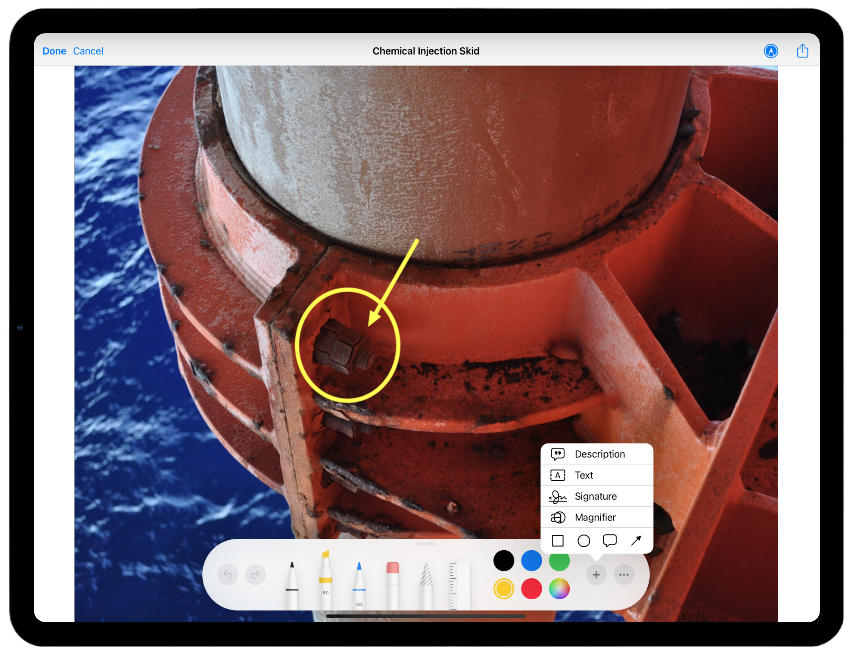
These are tools for a pencil, highlighter, pen, eraser, smudge tool, ruler and colour picker. Tap the plus to show more, including description, text box, signature, magnifier, and shape tools.
Tap colour to choose the colour(s) to mark up the photo with.
Tap shape to choose the shape to mark up the photo with. Pen allows freehand drawing. When drawing other shapes, you are dragging from one corner of the shape’s bounding rectangle to the other.
Tap line thickness to set the thickness of the line shapes will be drawn in.
Tap text to add text to the photo. Tap the photo to initially place your blank text box — the box will be placed centered on the location you tap. Type text, using either the on-screen keyboard or a keyboard connected to your iPad (via the magnetic Smart Connector or via Bluetooth). To move the edit cursor around within the text you are typing, use the cursor keys on a physical keyboard (possibly in conjunction with Shift, Control, Option and Command keys) or long-hold the spacebar on the on-screen keyboard, and then drag. For multi-line text, press Enter at an appropriate point.
You can drag the whole text box around the screen, or drag the white drag-handle at the bottom right of the text box to resize/rotate the text.
Tap erase to erase some or all of existing mark-up.
Hint
You can create a dashed line by drawing a continuous line and then swiping across it with the eraser.
Tap select to select a previously created markup item. You can then drag that item to a new location. If you select a text markup, you can edit the text. While a markup item is selected, a trash icon will appear at the bottom right. Tap this to trash the selected markup item.
Undo and redo buttons are available at bottom left.
Cancel and Done buttons are available at top left corner.
Crop and Rotate
Tapping  will take you to the crop-and-rotate screen. Use the slider at the bottom of the screen to rotate the photo by an arbitrary angle, from 180° anticlockwise to 180° clockwise. Or tap any of the five buttons below the slider to select specific angles.
Note
Using angles other than -180°, -90°, 0°, 90° or 180° will crop away part of your photo.
Press Done or Cancel at the top right to keep or discard your changes.
Note
You can also rotate the image in 90° steps with buttons at the bottom left and bottom right of the Photo screen but the rotations will not be saved.
You can also crop your photo here.
Share
Tap  to see an iOS share sheet, which works in the way you’d expect — tap a destination to send the marked-up photo there. Both rows of the share sheet can be scrolled horizontally to reveal more options, including the More option, which lets you configure which items appear, and what order they appear in.
