NEXUS Software Installation
- Select a member of the SQL Admins Active Directory group to install NEXUS IC (using the nexus setup nnnnnnnn.exe file provided to you by Wood) and ensure that this account is also a member of the NEXUS Backup Folder Active Directory group.
- Genuine NEXUS setup installers are digitally signed by Wood Australia PTY LTD.
- If you are installing via command line, see the installer manufacturer’s website for details of command line parameters.
- After installation, launch NEXUS application to launch the Database Connection Wizard.
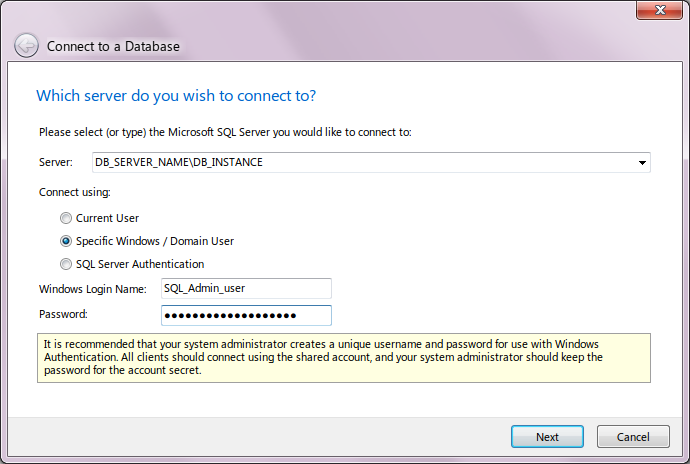
- On the Which server… page of the wizard choose Specific Windows / Domain User authentication and provide the username and account password of a user in the SQL Admins Active Directory Group, then click OK, as shown here:
- In the Which database… page of the wizard, enter the full path to the NEXUS backup file. This may be a UNC path (like ‘\FILE_SERVER\NEXUS_SQL_Backups’) or if the database server and NEXUS IC are running on the same machine it may be a Windows path (like ‘C:\Database Backups’).
- Enter a name for the new database (eg. “NEXUS”), as shown here:

- Click on Next to restore the database and confirm connection to the newly restored database.
- License prompt will appear. Enter valid license key and press Request License