Import
The Import functionality gives the user the ability to bulk update data stored in the database. There are numerous Import buttons throughout NEXUS IC — the Import button on the Assets screen allows you to import assets and Asset Information; the Import button on the Library screen allows you to import Library Types; the Import button on the Library tab within the Library screen allows you to import Library items; etc.
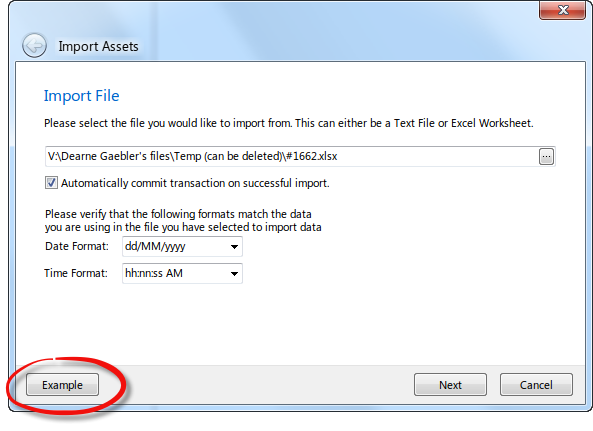
The format of the Excel workbook needs to be very specific. It is recommended that you use the Example button (shown below) to generate an Excel template in a format suitable for importing data.
The Import Template generated from the Example button will highlight fields which have been flagged as Required fields, set up lookup lists and provide information on the format and field type in the grey rows as shown here:

Caution
It is important to note that as the Importer is importing rows, the SQL server creates Row and Table Locks. This may mean that to other users accessing NEXUS IC, the application may appear unresponsive. When the import has finished and the data committed, then the Row and Table locks are released and the other users will be able to continue using NEXUS IC as normal.
The Import Wizard
- Import Filename - Navigate to the Excel or Text file which has been prepared for import. If you uncheck the “Automatically commit transaction on successful import”, the wizard will present you with a summary of the Import actions, and will prompt you to commit changes. Please note that the database will still be in a Transaction state until you Commit or Cancel the import.
- Configure Import - If you are using the Excel output from the Example template, then the destination Fields will be pre-populated. If you would like to make changes to the Destination fields or elect to ignore some fields, then click on the column heading titled Field: and choose from the options presented in the pop up menu. Finally, ensure that the correct Asset View is selected from the Required Fields selection box and that the number of Header Rows and worksheet are correct (by default this will be 1 or 2 rows).
- Import Complete - This page summarises the import, advising the user how many rows have been added to various forms/tables. It is important that you scrutinise this summary to ensure that the import has performed the actions that you expected.
Note
If the importer encounters a completely blank row, it will stop importing at that point, even if there are non-blank rows further down. This can provide an easy way to test an import sheet: set it up, and then after just one or two rows of data, insert a blank. Run the import to see if it’s doing what you expect, and if so, delete the blank and run again. Similarly, if the importer encounters a blank column, columns to the right of this will not be imported.
Tip
When importing inspection event data, anomaly triggers are checked during the import and findings created automatically from data which falls outside the data bounds.
Note
If you are importing a sheet designed for use with NEXUS IC 5, it may have one or more columns titled ‘Component.Location’. In the Configure Import page, you should select ‘Asset Location.Full Location’ for these columns.
Note
You can have one ‘Asset Location.Full Location’ column, with levels in the asset hierarchy separated by space slash space, like ‘My Field / My Plaform / My Member’, or many ‘Asset Location.Full Location’ columns, with one asset hierarchy level in each. (But you can’t mix the two, with one containing ‘My Field / My Plaform’ and a second containing ‘My Member’.)
Tip
You can also import from .csv files. For very large imports, saving your Excel file as a .csv and then importing from the .csv may be faster.
Sub-rows
Sometimes a single “master” row will have several “detail” rows. For example, an asset information row might have several sub-AIG rows; or an event might have several findings or several multimedia images or both. When this occurs, you should repeat the row, with different “detail” values in each.
For example, if you have several multimedia images to import against a single event, your Excel sheet should have several rows that are identical except for the Multimedia.Name and Multimedia.Image columns. If you have specified an event number, and you use the same event number on each row, NEXUS will only create the event once, but will create several multimedia items. (If you do not specify an event number, NEXUS will instead create several different events with one multimedia item each.)
It is also acceptable to leave event fields blank for all except the last row — under the hood, NEXUS is importing each Excel row into the event, and only the last Excel row imported will “stick”. Note that if your event has a finding, you should not repeat the finding data on each event row — if you do, NEXUS will create one finding for each Excel row that has finding data filled in.
In some cases you do want multiple findings on one event, and in that case you should fill in several rows as appropriate. Similarly for sub-event data or sub-AIG data: if you want several different sub-events or sub-AIG rows imported, you should repeat the event row or AIG row with different sub-event or sub-AIG data in each case. If you are repeating an Excel row for another reason and you do not want several sub-event or sub-AIG rows imported, you should fill in sub-event or sub-AIG data in only one of the Excel rows.